Most people buy a hiking backpack the way they buy a rain jacket: they find one that looks right, wear it around the store aisle for ninety seconds, and take it home. Then they get to mile six with the shoulder straps biting and the hip belt creeping up toward their ribs, and they blame the pack. The pack is almost never the problem. The fit is.
Women's hiking backpack fit comes down to two numbers and one habit. The numbers are your torso length and the pack's torso range. The habit is setting the hip belt before you touch anything else. Get those right and a mid-priced pack will carry a full day load better than a premium pack that is two inches too long in the back.
I fit packs for a living, part time, and I hike with them the rest of the time. Here is the exact routine I run, in order, plus the two packs I hand to most people who ask me where to start.
Why you should trust me
I thru-hiked the PCT in 2021, have section-hiked pieces of the AT, and have carried a backpack somewhere around 8,000 miles in the last five years. I work part time in outdoor retail, partly for the discount and mostly because the customer questions are better than anything I could make up. Every pack I write about gets the same treatment: a loaded 10-mile hike, a hip belt transfer check, and a 30-day daily carry trial. I keep a grams-per-mile logbook, which sounds obsessive because it is.
My current test block is 2026 women's-specific packs, four units, ten loaded miles each, with a pressure-point check at mile eight. That mile eight check is where packs separate. Everything feels fine at mile one.
How I picked and how I tested
The order of operations matters more than the brand. First question: does the pack match my torso length? Second: at mile eight, where is the load sitting, hips or shoulders? Third: what does the pack actually weigh, not what the tag claims? Fourth: would I carry it for a week?
The two packs below are the ones I pull off the wall most often for people buying their first real daypack. They are different tools. One is built for trails, one is built for the walk from the train to the office and the occasional easy hike on the weekend. Both come in women's-specific versions, which is not marketing. A women's pack has a shorter torso range, narrower shoulder straps, and a hip belt shaped to sit on a different hip angle.
I did not rank them against each other. I ranked them against the job.
The two packs I would put in front of you
Both of these are daypack volumes, which is the right starting point for most people. Daypacks are lighter, simpler, and easier to fit than a multi-day pack, and if you get the fit right on a 20-liter pack you will know exactly what to look for when you size up later.
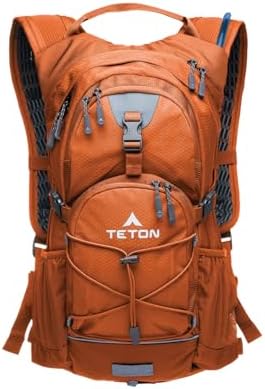
Day hike pick: Osprey Tempest Velocity 20L Women's Hiking Backpack, Tan WXS-S
 Visit on Amazon →
Twenty liters is the volume that covers a real day out: a layer, a liter of water, food, a first aid kit, and a shell you will probably take off in the first mile. The Tempest Velocity comes in a women's-specific build with a WXS-S size, and that sizing is the detail that matters. It exists so the torso range and the hip belt land where they should on a shorter frame instead of being scaled down from a men's pattern.
Osprey is the brand I trust most across the board. The suspension does real work transferring load to the hips, and the warranty is the one I have never had to argue about. For a first trail pack, this is where I point people.
Flaws but not dealbreakers: Twenty liters is a daypack. It will not swallow a sleeping bag, a tent, and three days of food, and no amount of strap adjustment fixes that. If you are shopping for overnights, you are shopping for the wrong volume, not the wrong brand.
Anyone doing day hikes, peak bagging, or fast overnights out of one basecamp will get the most out of this one.
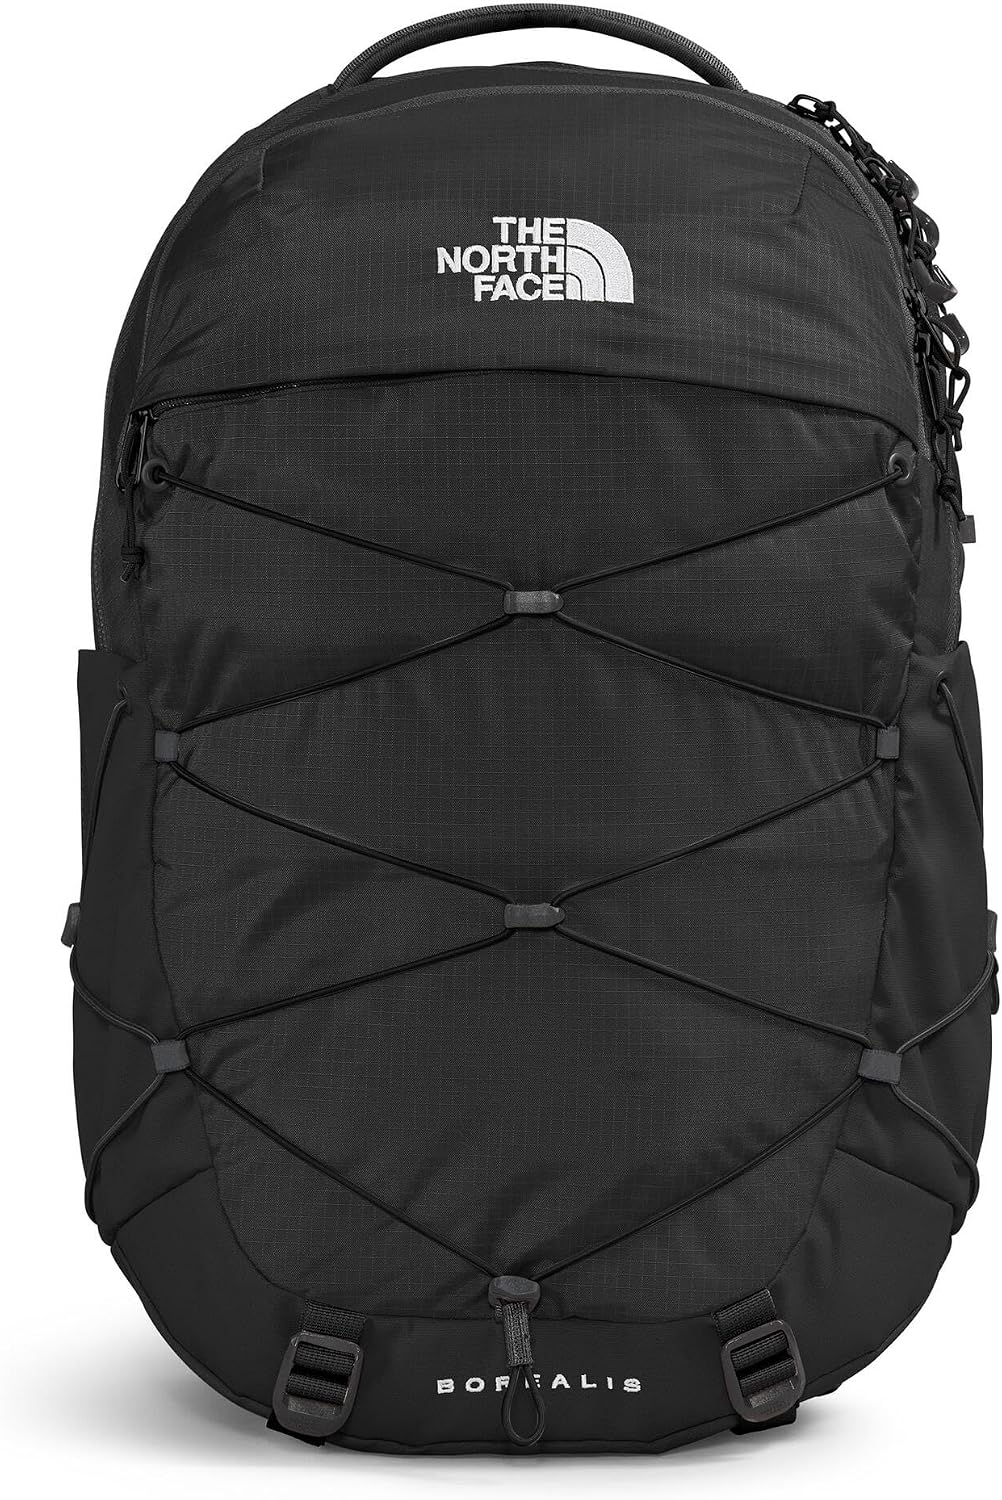
Everyday carry pick: The North Face Women's Borealis Backpack, Blk/Wht-NPF, OSFA
 Visit on Amazon →
This is the pack for the commute, the campus walk, the carry-on, and the flat gravel trail on a Saturday. The Borealis has been around long enough that The North Face stopped messing with the formula. It has the organization a trail pack does not bother with: a laptop sleeve, a front pocket for the small stuff, and a shape that sits flat against your back on a train seat.
It is the pack I recommend to people who say they want one bag that does everything except a serious mountain day. It is honest about what it is.
Flaws but not dealbreakers: The listing shows one size, OSFA, so the fit depends entirely on your torso landing inside the range The North Face built it for. If you are at either end of that range, the hip belt may sit high on your ribs or low on your hips, and neither is comfortable for a long walk. The suspension is also lighter duty than the Osprey, which is fine for a laptop and a water bottle and not fine for twenty pounds of climbing gear.
Anyone who wants one bag for work, travel, and easy trails should start here.
How to fit a women's hiking backpack: six steps
This is the routine. Do it in this order, because every step depends on the one before it.
Step one: measure your torso length. Tip your head forward and feel for the bony bump at the base of your neck. That is C7. Now find the top of your hip bones, the iliac crest, on both sides. Run a soft tape measure from C7 down the curve of your spine to the point level with the top of your hips. That number, in inches, is your torso length. Have someone help you. Doing it alone is how people end up two inches off, and two inches is the difference between a pack that disappears on your back and one that fights you all day.
Step two: match the number to the pack's torso range. Not to the letters on the tag. A small in one brand is a medium in another, and a women's small in one line can be a men's extra small in another. If a product page lists twenty-five features and no torso range, that tells you something about who the pack was built for. Skip it and keep looking.
Step three: loosen every strap before you put it on. Hip belt, shoulder straps, load lifters, stabilizer straps, all of them slack. People crank the shoulder straps first because that is the intuitive move, and then they spend the rest of the hike wondering why their shoulders hurt. Slack first, then build the fit from the bottom up.
Step four: set the hip belt first. Center the padding of the hip belt on the top of your hip bones, not on your waist. This is the single most common mistake I see in the store. A hip belt worn at the waist cannot transfer load because there is nothing there to transfer it to. Cinch it down onto the shelf of your hips until it is snug, then back off a notch if you can barely breathe. The pack should now sit on your hips with the shoulder straps barely touching.
Step five: shoulder straps last, and lightly. Tighten them just until they curve over your shoulders and meet your chest without a gap. They should not be carrying the weight. Then pull the load lifters, the small straps at the top of the shoulder straps, until they sit at roughly a forty-five degree angle. Load lifters are the most ignored straps on any pack. They pull the top of the pack in toward your back and stop it from swaying.
Step six: walk, then adjust at mile one. Every pack feels fine standing in a shop. Walk a lap. Then walk a mile. Then check three things: can you slide a flat hand under the shoulder strap without forcing it, is the hip belt still sitting on your hips instead of riding up, and is the pack staying put when you turn your head to look at something. Adjust, then leave it alone.
How to load the pack so the hip belt can do its job
Fit is half the job. Loading is the other half, and it is the half people skip.
Put the heaviest items close to your spine and centered between your shoulder blades, slightly below them. Water is heavy, so keep it low and centered rather than strapped high on the outside. Layers go on top of the heavy core, because you will take them off and put them on all day. Anything you need while walking has to be reachable without taking the pack off, which means the side pockets and the hip belt pockets are for the things you actually use.
That is the pocket test I run on every pack. A pocket you cannot reach while moving is worse than no pocket at all, because you will fill it anyway and then have to stop every time you want what is in it. A useless pocket is a design failure, not a packing problem.
And pack the bag before you buy it. Bring your actual water bottles, your actual layers, and your actual lunch to the store, or load them at home before the return window closes. A pack that fits empty and sags loaded is not a pack that fits.
How to tell when the fit is wrong
Shoulder pain in the first mile means the hip belt is not carrying its share. Loosen the shoulder straps and re-set the hip belt on your hip bones.
A hip belt that rides up onto your waist means the pack is either too short in the torso or the belt is not tight enough. Try cinching it first, and if it still climbs, the torso length is wrong.
A pack that sways side to side when you walk usually needs the load lifters and the stabilizer straps tightened, but if it still swings with a light load, the frame is too big for your torso.
Lower back ache at the end of the day is usually a loading problem, not a fit problem. Heavy gear too far from your spine will pull you backward all day, and your lower back pays for it.
The packs that did not make this guide
If you are shopping for something bigger than a daypack, the packs I would send you toward are not in this article because they are a different category with a different set of tradeoffs.
Gregory's Baltoro and Deva lines have the best hip belts in the business. If you have hips and you have struggled to find a pack that sits on them instead of sliding off, Gregory figured that out. Deuter's Aircontact is the one I reach for with a genuinely heavy load, because the frame is stiff and the ventilation actually works under weight. Hyperlite's ultralight packs are excellent if your base weight is under fifteen pounds and punishing above it, because a frameless pack does not forgive. And if you are a weekend hiker who wants ninety percent of the premium experience for a lot less, the REI Traverse line is the value answer.
None of those belong in a first daypack guide. They belong in the guide you read in two years.
What this all costs
Both of the packs here are daypacks, and both sit in the range where you are paying for a real suspension and a real hip belt rather than a logo on a school bag. Check current Amazon price on each listing, because both go on sale at predictable points in the year and the gap between them narrows when they do.
The cost math that actually matters is not the purchase price. It is how many packs you buy. A pack that fits your torso and puts the load on your hips will last you years, which makes it cheap per mile. A pack that does not fit gets replaced, and then replaced again, and the third cheap pack always costs more than the first good one. I have watched people do this for five years in a shop.
If you take one thing from this, take the tape measure. Twenty minutes with a soft tape and a friend will do more for your comfort on trail than any feature on any spec sheet. Fit beats features, and it is not close.