Most people buy a daypack by liter count. Twenty liters, thirty liters, whatever the shelf label says is a day pack size. Then they load it, walk five miles, and wonder why their shoulders ache and why the hip belt has crept up around their ribs like a belt on a scarecrow.
I have carried a backpack roughly 8,000 miles in the last five years. A lightweight hiking daypack is a different animal from a thru-hiking pack, but the rules do not change. The load goes on your hips. The torso length has to match your spine. Every pocket has to earn its place, because a useless pocket is worse than no pocket at all.
This is the whole process, in the order I do it, plus the two items I hand people who are starting from zero.
Why you should trust me
I thru-hiked the PCT in 2021 and have section-hiked the AT in pieces around a part-time job in outdoor retail. I keep a grams-per-mile logbook the way other people keep a running log, and I weigh gear on a kitchen scale because spec sheets lie in both directions.
Every pack I form an opinion about gets the same treatment: a loaded 10-mile hike, a hip belt transfer check at mile 8, and a 30-day daily carry trial. That routine is why my answers sound repetitive. What it taught me is boring and useful. Fit beats features. A pack with twelve clever pockets that sits wrong is worse than a plain pack that sits right. The hip belt does most of the work of carrying the load, and everything above it is just organization.
The three specs that decide everything
Torso length. Measure from the C7 vertebra, the bump at the base of your neck, down to the top of your iliac crest, the shelf of your hip bone. That number, not your height and not your shirt size, decides whether you need a small, medium, or large. Get it wrong and no amount of strap tugging will fix the pack.
Comfortable load in pounds, not liters. Liters measure volume. A 25-liter pack can carry 10 pounds happily and 25 pounds miserably, and the difference is the frame and the belt. Most day hikers carry 8 to 15 pounds with water, which sits well inside the range of a soft, lightly structured daypack.
Actual weight. Weigh the empty pack before you commit. Tag weights are optimistic. On a daypack, ounces matter less than they do on a thru-hike, but they still add up over ten miles.
Choose the size by the trip, not the shelf label
Volume should follow the hike you actually take, not the one you imagine.
- Three to six miles on a warm day: 10 to 15 liters. Water, a layer, snacks, phone.
- Six to twelve miles: 15 to 25 liters. Add lunch, a first aid kit, a headlamp, and a rain shell.
- Winter day hikes or a trip where you carry camera gear: 25 to 35 liters, and consider a pack with a light frame.
If you are between two sizes, take the smaller one. A pack with extra room invites you to fill it, and every extra pound is a pound you carry for no reason.
How I judge a daypack before I recommend it
Four checks, in this order.
First, the belt. A daypack belt can be as simple as two inches of padded webbing, but it has to sit on the hip bone rather than the waist. If the padding is too narrow or too stiff, the pack torques and the load migrates to your shoulders.
Second, the back panel. Soft and cushioned is fine on a daypack, and it is more comfortable against a t-shirt than a tensioned mesh frame. What matters is that the panel does not push the pack so far off your back that the weight swings when you walk.
Third, the pockets. Reach behind you without taking the pack off and see whether you can get a hand into the side pockets and the belt pockets while the pack is loaded. If you cannot, those pockets are decoration.
Fourth, the weather. Most packs sold as waterproof are really water resistant: coated fabric, shielded zippers, a coated bottom. That is plenty for a day hike in the Pacific Northwest. It is not enough for an all-day downpour, and no daypack replaces a dry bag for your phone and your insulation.
The gear I hand people first
Two items come up in almost every conversation I have with someone starting out: a small pack sized for a day load, and something to read about the parts of hiking that gear cannot fix.
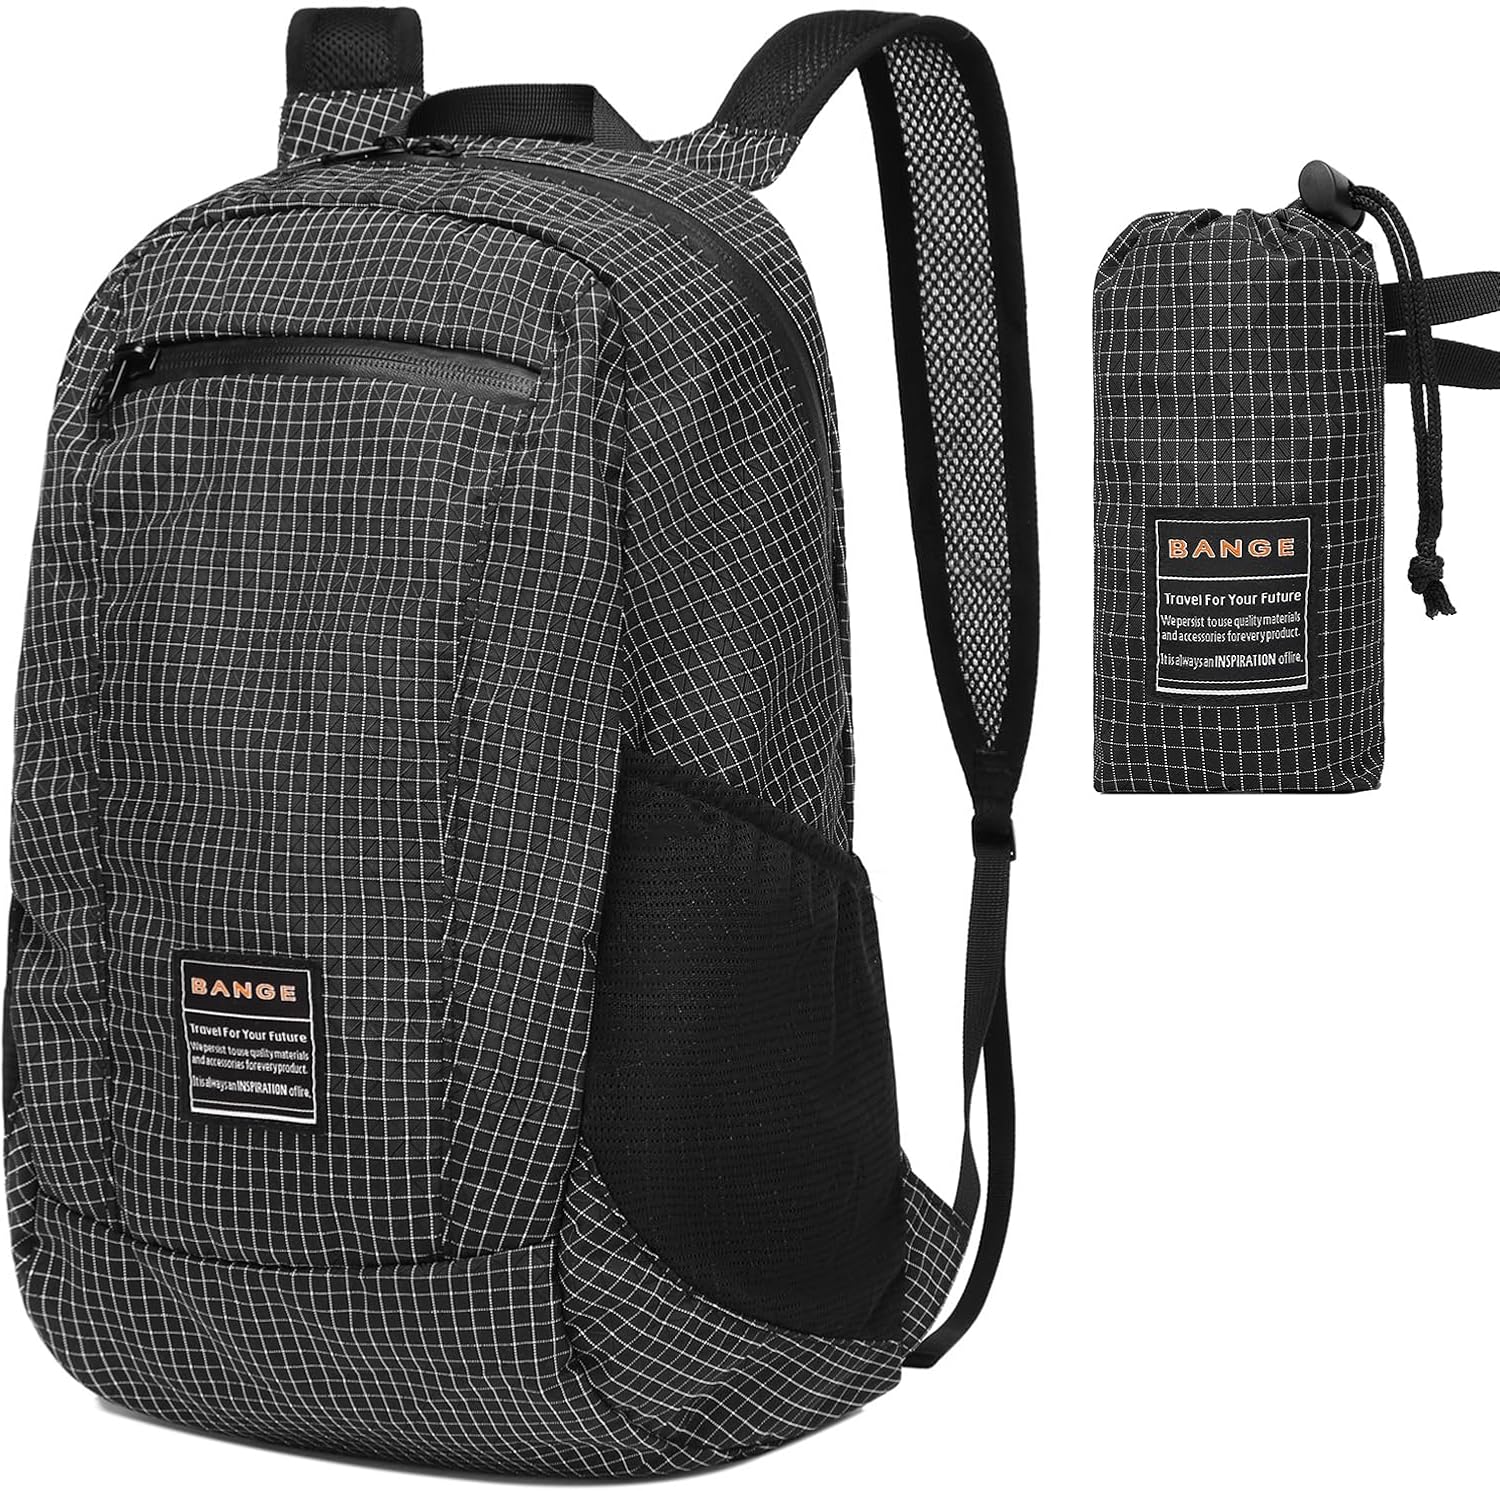
The daypack: BANGE Small Hiking Backpack Lightweight Daypack, Soft Cushioned Day Pack for Men Women, Waterproof Hiking Camping Backpack for Travel Cycling
 Visit on Amazon →
This is the small-pack category done simply: a soft, cushioned back panel, a light shell, and a size that suits a day load instead of a week. It is built for the hiking most people actually do, which is three to ten miles with water, a layer, lunch, and a phone. The listing describes it as waterproof, and for a pack in this class that means coated fabric and shielded zippers. Treat it as weather resistant and keep a dry sack around anything that cannot get wet.
What to check before you commit: put it on with about ten pounds inside and see where the belt lands. It should sit on your hip bone, not float above it and not dig into your stomach. Then reach for the side pockets with the pack on. Then walk a mile. If the belt stays put and your shoulders are not carrying the load, the pack is doing its job.
Flaws but not dealbreakers: this is a soft pack, so it will not carry a heavy load the way a framed weekend pack does. If your day kit includes a bear canister, four liters of water, or camera gear, you want a frame. For a normal day load, the soft structure is a feature rather than a compromise.
Anyone who wants one pack for day hikes, travel days, and a bike commute should start here.
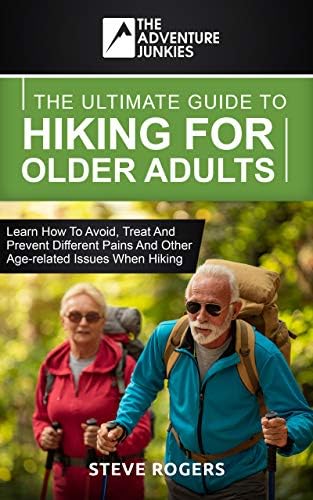
The reference guide: The Ultimate Guide To Hiking For Older Adults: Learn how to avoid, treat and prevent different pains and other age-related issues when hiking. (The Adventure Junkies Hiking Series)
 Visit on Amazon →
Gear fixes fit and load. It does not fix a knee that swells at mile four, a hip that aches on descents, or feet that need a different strategy at 60 than they did at 30. This book covers the other half of the problem: avoiding, treating, and preventing the pains that show up with age on trail.
I recommend it in two situations. The first is a hiker over 50 getting back into hiking who wants to build mileage without wrecking a joint. The second is anyone planning a hike with a parent or an older partner, because it gives you a shared vocabulary for pacing, rest breaks, and knowing when to turn around.
Flaws but not dealbreakers: it is a book, not a substitute for a physical therapist. If you have an injury, get it looked at. Read this for the prevention side, which is where it earns its place in your pack.
The fit and load walkthrough
Step one: measure your torso. C7 to the top of your hip bone. Write the number down. If you land between sizes, size down, because a slightly short torso is easier to fix than a long one.
Step two: loosen everything. All the straps, all the way out, before the pack goes on. You cannot fit a pack that arrives pre-tensioned.
Step three: set the hip belt first. Center the padding on your hip bones and cinch it snug, not tight enough to restrict breathing. A good belt feels like a firm handshake around the hips.
Step four: tighten the shoulder straps last. They should curve over your shoulders and come down at an angle rather than pulling straight back. If they are carrying weight, the belt is not doing its job.
Step five: adjust the load lifters if the pack has them. These are the small straps at the top of the shoulder straps. Snug them until the pack sits close to your back, then stop. Over-tightening pulls the pack up off your hips.
Step six: set the sternum strap. It crosses your chest at a height that lets you breathe deeply. It stabilizes the pack and does not carry load, so keep it loose.
Step seven: load the pack. Heaviest items in the middle, against your back. Water low and centered if the pack allows it. Rain shell on top, because weather changes and you want it without unpacking. Snacks and phone in the belt pockets or the lid, reachable while you walk.
Step eight: walk a mile, then recheck everything. Straps settle and belts loosen. The first mile tells you whether the pack fits.
Mistakes that cost you at mile eight
Wearing the pack on your shoulders and treating the belt as decoration. This is the most common one. If your shoulders ache after a flat five miles, the belt is too loose, the torso length is wrong, or both.
Buying volume you do not need. A 40-liter pack on a six-mile day hike invites you to fill it. Take the smaller pack and you will carry less.
Loading heavy items high and far from your back. A full water bladder at the top of a tall pack turns every step into a lever arm.
Ignoring the descent. Most day hike pain shows up going down rather than up. Shorten your stride, keep the belt snug, and use trekking poles if your knees complain.
Treating a waterproof pack as a dry bag. Coatings wear, zippers leak, and a wet puffy at mile six is a real problem. Line the pack with a compactor bag or use a dry sack for anything that cannot get wet.
When a daypack is the wrong tool
If you are carrying a tent, a stove, and a sleeping bag, you are not day hiking and you need a framed pack with a real suspension. If your day load routinely runs past 20 pounds, the same answer applies. And if your torso measurement keeps landing outside the range a soft pack offers, stop shopping for a bargain and go get fitted, because no feature list beats a pack that matches your spine.
What this costs
A small daypack and a reference book are the cheapest version of this whole setup. Check current Amazon price on both and compare it with the alternative, which is a framed weekend pack that costs several times more and carries weight a day hiker never puts in it.
Cost per day is the honest way to look at gear. A daypack that gets used every weekend for two seasons has a very different cost per hike than one that sits in a closet. The pack that gets used is the pack that fits, which is the entire point of the walkthrough above.
The short version
Measure your torso. Set the belt before the shoulder straps. Load the heavy weight against your back and in the middle. Walk a mile and recheck. Fix the fit before you buy more gear, because fit is the one thing no feature list can fix.
Then go hike. That is the job.