Most packs fail at mile eight, and it is almost never the pack's fault. A hydration backpack fit is really three measurements and four adjustments, and the order you do them in matters more than the logo on the lid. I have watched people spend an afternoon at the shop counter chasing features when the actual problem was a hip belt riding two inches too high on the waist.
I have carried a backpack roughly 8,000 miles in the last five years, including a 2021 PCT thru-hike, and I still measure my torso before I trust a new pack. The trail tells you in the first mile whether the pack fits. Everything after that is stubbornness.
This guide covers the fitting routine I use on adult hydration packs and on kids' packs, using two specific packs as the examples: an adult hydration pack with a bladder sleeve, and a small kids' daypack. The steps are identical. Only the scale changes.
Why you should trust me
I thru-hiked the Pacific Crest Trail in 2021 and have section-hiked the Appalachian Trail in pieces since. I work part time in outdoor retail, mostly because the discounts are good and the customer questions are better. Every pack that comes through my hands gets the same treatment: a loaded 10-mile hike, a hip belt transfer check at mile 8, and a 30-day daily carry trial. I keep a grams-per-mile logbook, which sounds obsessive until you realize that is the only honest way to compare a pack you liked on day one against one you resented on day twenty.
My bias is simple. Fit beats features. A pack that does not match your torso length is worse than a cheaper pack that does, no matter what the suspension is called. The hip belt does about 80 percent of the work. Everything else is organization layered on top of that.
How I picked and how I tested
The checklist I run on any pack measures five things: published torso range, hip belt shape and stiffness, hydration sleeve placement, rain protection, and whether I can reach the pockets I actually use while walking.
Those five items map directly to the three tests. A loaded 10-mile hike shows whether the pack moves with you or against you. The hip belt transfer check at mile 8 is where I relax my shoulders and let my arms hang: if the pack stays put, the belt is carrying the weight; if the shoulder straps pull forward, it is not. The 30-day carry trial catches the small stuff, like a pocket that sits behind your elbow or a hydration hose that kinks when the pack is full.
Two packs came in for this piece, and they cover two different jobs. One is an adult day pack built around a bladder. The other is a small kids' pack for short trips. Both clear the checklist on the specs they publish, which is where I start before a single strap gets adjusted.
The two packs I keep handing out
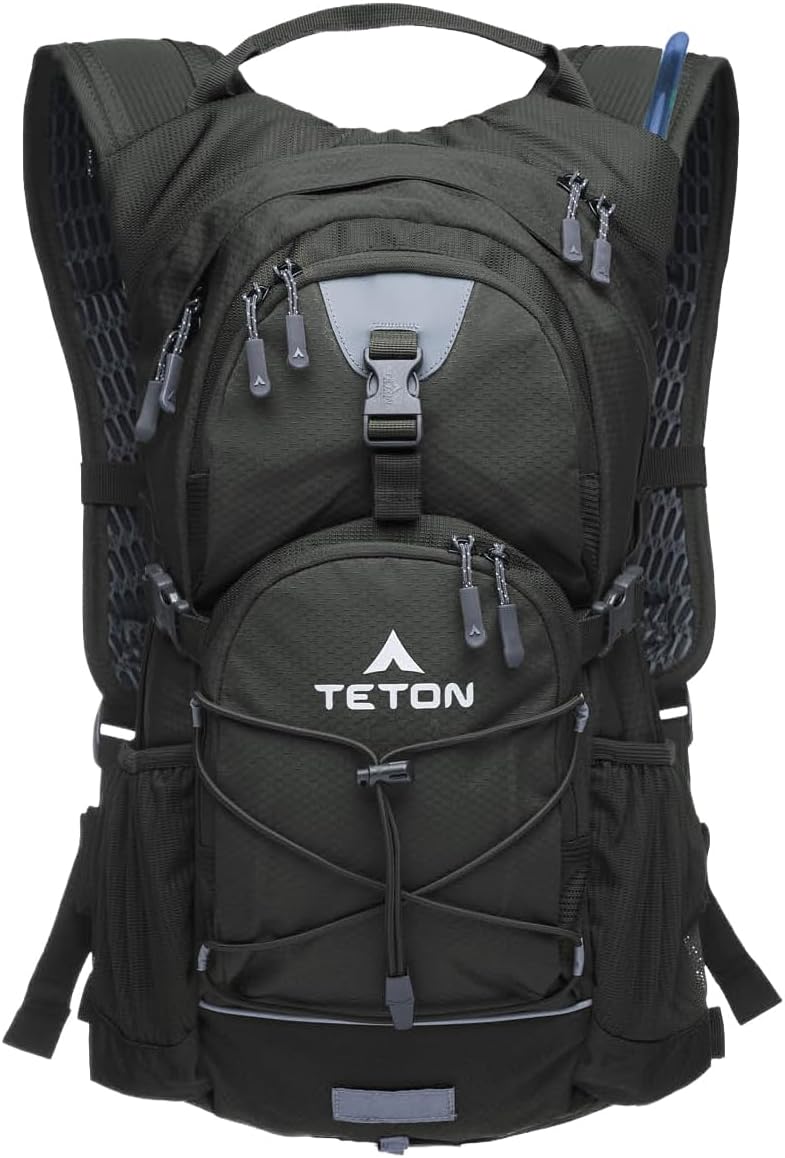
Our pick: Teton Oasis Trailrunner Hydration Backpack, Lightweight Water Pack with 2L/3L Bladder for Hiking, Running, Cycling, Biking 18L/22L Sizes, Sewn-in Rain Cover, Fits Men and Women
 Visit on Amazon →
This is the pack I would hand an adult who wants one bag for a half-day hike, a bike ride, and a run. It takes a 2L or 3L bladder, comes in 18L and 22L versions, and it is unisex, which means the fit comes down to the adjustments you make rather than a marketing category.
The sewn-in rain cover is the detail I care about most. My standing complaint about rain covers is that they fit the pack but not the load, so a stuffed pack bulges out from under the hem and the bottom soaks through anyway. A sewn-in cover cannot be left at home and it cannot be borrowed by someone else in your group, and in the Pacific Northwest that matters more than a ventilation channel.
The 18L version is a day pack. The 22L version is a day pack that also swallows a shell, a lunch, and a first aid kit without a fight. If you are between the two, take the larger one, because a pack that is slightly too big still fits and a pack that is slightly too small never does.
Flaws but not dealbreakers: The bladder is the whole point of this pack, so if you already own a reservoir you like, you are paying for a feature you will swap out. A sewn-in cover also means when the cover is soaked, you are carrying a soaked cover. Wring it out at camp.
Anyone doing day hikes, bike commutes, or trail runs within a few hours of the car will get the most out of this one.
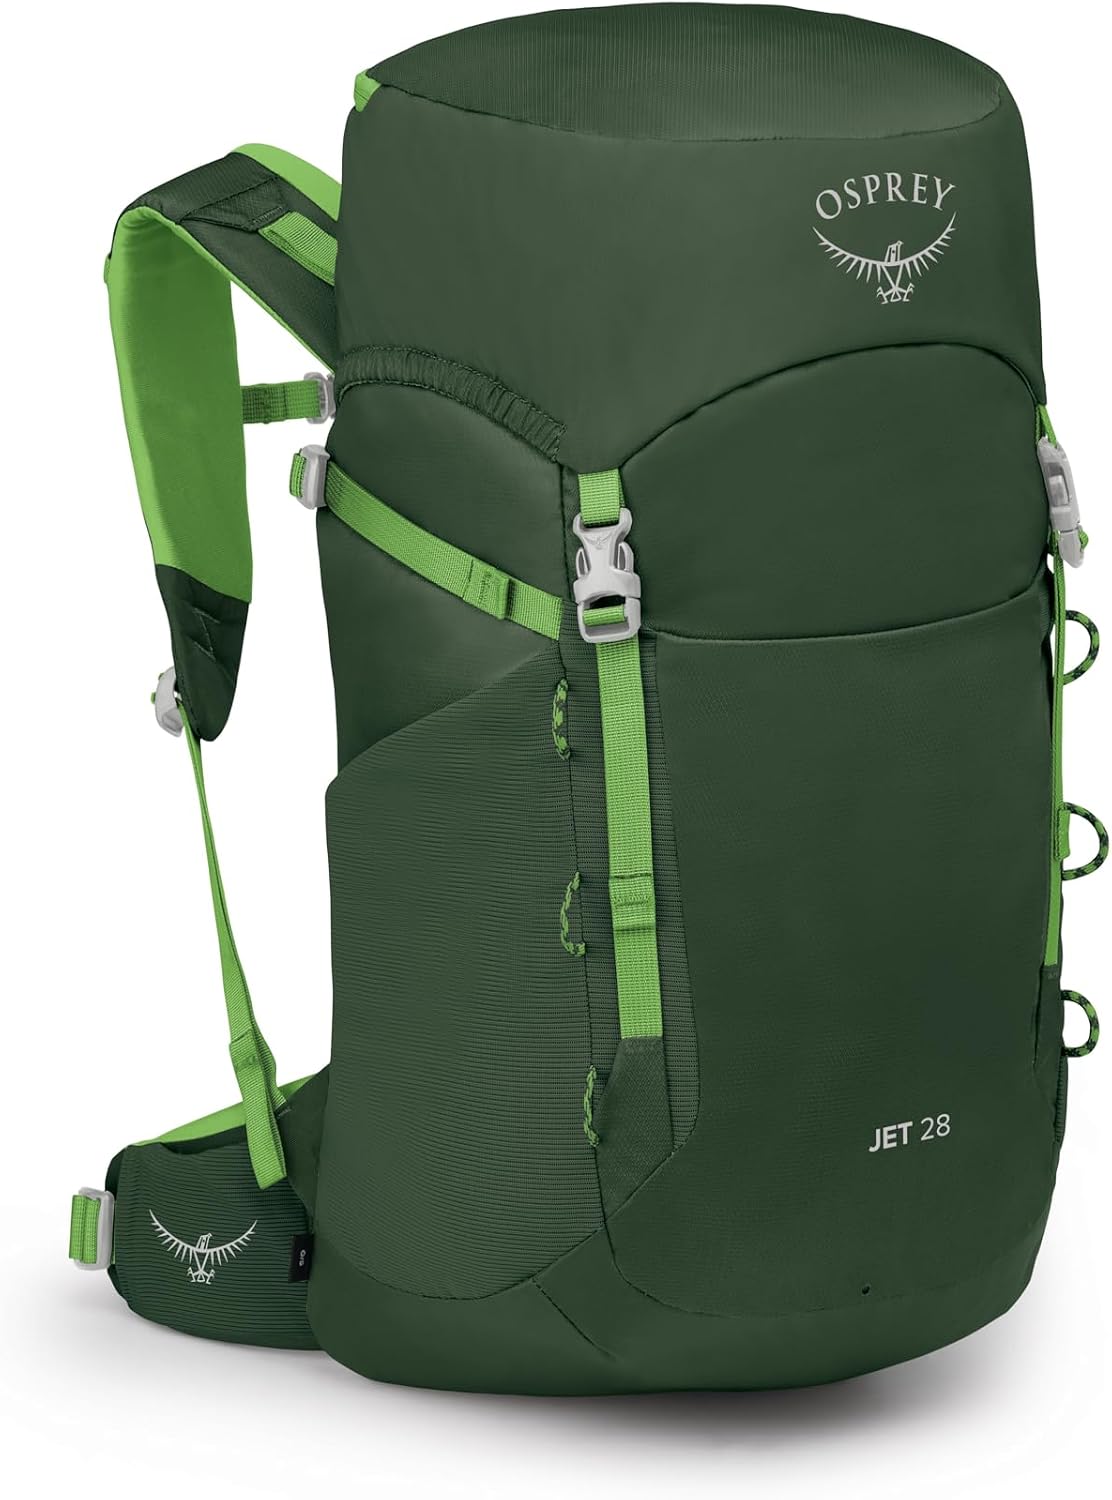
Kids pick: IVYGREEN Small Kids Hiking Backpack for Camping or Short Trip, Green, S
 Visit on Amazon →
A kid's first pack should be small, light, and boring. This one is a small size in green, built for camping or a short trip, and that is exactly the right brief. The worst thing you can do is hand a seven-year-old an adult pack with 15 pounds of your gear in it and call it character building.
The size S frame suits small bodies, and the capacity is honest about what a kid will actually carry: a water bottle, a snack, a light layer, and one item that has no practical purpose but absolutely must come along. You will still carry the real load. That is the deal.
For fit, measure your kid the same way you measure yourself, from the bump at the base of the neck down to the top of the hip bone, and recheck it every season. Kids grow out of packs the way they grow out of shoes, fast and without warning. If the pack sits above the hips and the shoulder straps are doing all the work, the pack is too big, not too heavy.
Flaws but not dealbreakers: At this capacity you are carrying the family's water and food, so this is a starter pack and not a load hauler. The size range is narrow by design, which means a growth spurt retires it.
Parents of kids roughly five to nine who want them to carry their own layer and snacks should start here.
The actual fitting workflow
Now the part you came for. This works on any pack with a real hip belt, adult or kid sized. Do it at home with a full bladder and a loaded pack, not in a parking lot with an empty one.
Step one: Measure torso length. This is the number everyone ignores and the one that decides everything. Torso length runs from C7, the bony bump at the base of your neck when you tilt your head forward, down to your iliac crest, the top of your hip bone. Have someone else hold the tape, because you will cheat. Write the number down. When you look at a pack, the first spec you check is the torso range, and if a manufacturer does not publish one, that tells you something.
Step two: Load the pack before you adjust anything. Weight changes fit. A pack that sits perfectly empty will sit differently with three liters of water and a shell in it. Fill the bladder, stuff a jacket in the main compartment, then start adjusting.
Step three: Hip belt first, and center it. The padding should sit over the iliac crest, the shelf of bone at the top of your hips, not on the soft part of your waist. Tighten it until it is snug and the pack's weight lands on that shelf. If the belt rides up onto your waist when you walk, it is either too high or too loose, and both are fixable.
Step four: Shoulder straps last. Snug them, do not crank them. The straps should curve over the shoulder without a gap underneath and without compressing your chest. If the strap is digging in, loosen the hip belt and re-tighten it instead. The straps are there to keep the pack against your back, not to carry it.
Step five: Set the load lifters. These are the small straps at the top of the shoulder straps. They should run at roughly 45 degrees up to the top of the pack. Too much tension and they pull the pack off your hips, which defeats the entire system. Too little and the pack sags away from your back on descents.
Step six: Dial in the sternum strap. It goes between your collarbone and your armpit, tight enough to keep the shoulder straps from sliding outward, loose enough that you can breathe through a climb. This one adjustment fixes most of the "my pack rubs my shoulders" complaints I hear at the counter.
Step seven: Set up the hydration system. Bladder in the sleeve, hose over the shoulder on the side you naturally reach for, bite valve at collarbone height so you never have to tilt your head to drink. Fill the bladder, then burp the air out through the hose before you seal it. Water is the densest thing you carry, so keep it centered against your back rather than jammed at the very top, where it will pull the pack backward and fight the load lifters.
Step eight: The mile 8 check. Walk ten minutes with the full load. Then stop, relax your shoulders, and let your arms hang. If the pack stays where it is, the hip belt is doing its job. If the shoulder straps pull forward, tighten the belt a notch and try again. Do this on flat ground before you do it on a climb.
Step nine: Fit the kid's pack the same way. Measure their torso, load it with what they will actually carry, and put the belt on their hips rather than their waist. Then walk a mile and watch. If the pack is bouncing or the straps are sliding off their shoulders, take weight out before you tighten anything.
Step ten: Keep the rain cover where it lives. If it is sewn in, this step is done for you. If it is not, it goes in the pack, not in the car. A rain cover in the car is a rain cover you do not have.
What these two packs are not
Frameless ultralight packs are wonderful if your base weight is under 15 pounds. Above that, the design punishes you, and a day pack with water and a layer for two people can get there fast. This is not that category.
Big expedition packs are the opposite problem. A 65-liter hauler for a two-hour hike is a pack that swings, sits high, and makes you look like you are moving house. Load transfer works best when the pack is roughly full.
Hydration vests are a third tool entirely. They are excellent for running, and they are a poor choice for a family hike where you are also carrying snacks, a shell, and a kid's discarded fleece.
School backpacks are the fourth. They are built for books, which sit flat and do not shift. They have no hip belt worth the name, and that is the whole difference.
What this all costs
The fitting is free. That is the part people skip, and it is the part that decides whether the money you spend works. Twenty minutes with a tape measure and a full bladder at home beats an hour of guessing at a trailhead.
When you are comparing packs, ask what you are actually paying for. In the adult pack above, you are paying for a hydration sleeve that fits a real bladder, a cover that stays attached to the pack, and two sizes so you can match the volume to the trip. In the kids' pack, you are paying for a small size that fits a small torso, and that is worth more than any feature list.
Buy once, fit it properly, and recheck the adjustments at the start of every season. Packs stretch, straps slip, and bodies change. The goal is not a perfect number on a spec sheet. It is a pack that is still sitting on your hips at mile eight, with your shoulders loose and your water within reach.