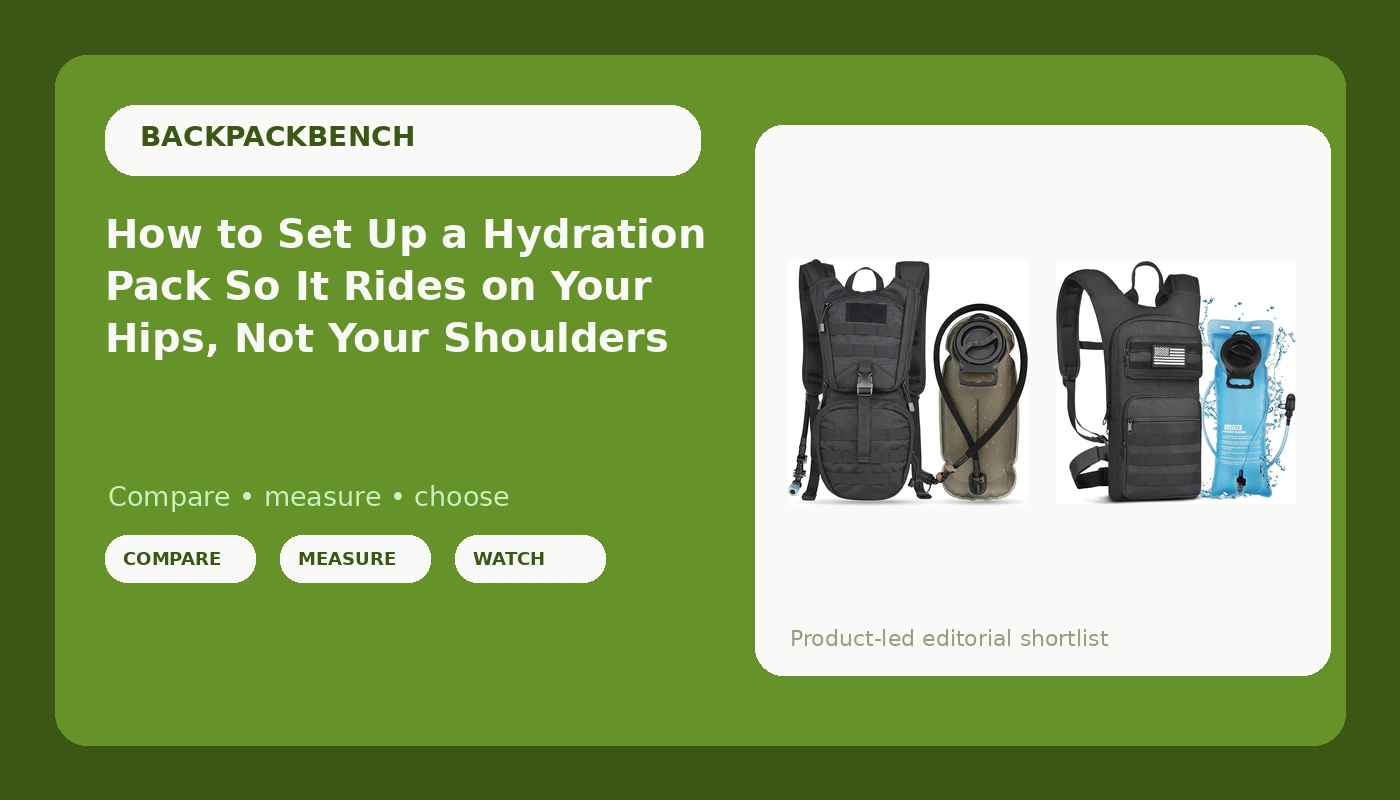
Most hydration packs get set up once, badly, and then never touched again. The bladder goes in the sleeve, the hose goes over the shoulder, the straps get snugged until nothing moves, and off you go. It works for about four miles. Then the hose starts slapping at your ear on every step, the pack creeps down your back on the descents, and three liters of water ends up hanging off your shoulders instead of sitting on your hips.
Hydration pack setup is not complicated, but it is specific. A full 3L bladder is roughly six and a half pounds of shifting weight, and small decisions about where it sits and how the hose runs change how the pack carries at mile eight. I have carried a backpack something like 8,000 miles in the last five years, most of it on the Pacific Crest Trail plus long sections of the Appalachian Trail, and I fit packs for customers at an outdoor shop on weekends. What follows is the same setup I walk people through at the counter, plus the two bladder packs I would start a day hiker on.
Why you should trust me
I thru-hiked the PCT in 2021 and have been picking away at the AT since, and I work part time in outdoor retail mostly because the discounts are good and the customer questions are better. Every pack I look at gets the same treatment: a loaded 10-mile hike, a hip belt transfer check, and a 30-day daily carry trial. I keep a grams-per-mile logbook that is more embarrassing than useful.
Two things I believe after all that mileage. Fit beats features, every time. A pack that does not fit your torso is worse than a cheaper pack that does, no matter what the suspension diagram promises. And the hip belt does about 80 percent of the work, which means a hydration pack with a thin little waist strap is really a shoulder pack wearing a costume.
How I picked and how I tested
The packs below are not ultralight packs and they are not overnight packs. They are what I hand a day hiker who wants to carry water, a shell, snacks, and a phone, and who wants the water off their shoulders.
I looked at both against the same checklist I use on trail:
- Where the bladder sleeve sits. Against the spine is right. Sewn onto the back panel is wrong, because the load ends up behind your center of gravity.
- Whether the hose exits on both shoulders or only one.
- Hose length, and whether there is a clip or keeper to hold the bite valve near your mouth.
- Hip belt width. If it is narrower than your hand, it is a strap, not a belt.
- Pockets you can reach without taking the pack off. This is where cheap packs fall apart.
- Torso range, or at least an adjustable harness. A pack that lists 25 features and no torso information is a pack I will not recommend.
Both packs here ship with a 3L bladder, which removes the single most annoying purchase decision in this category. Neither is a technical alpine pack, and neither pretends to be.
Hydration packs worth starting with
Budget pick: NOOLA Hydration Backpack with 3L Water Bladder, Tactical Pack for Hiking
 Visit on Amazon →
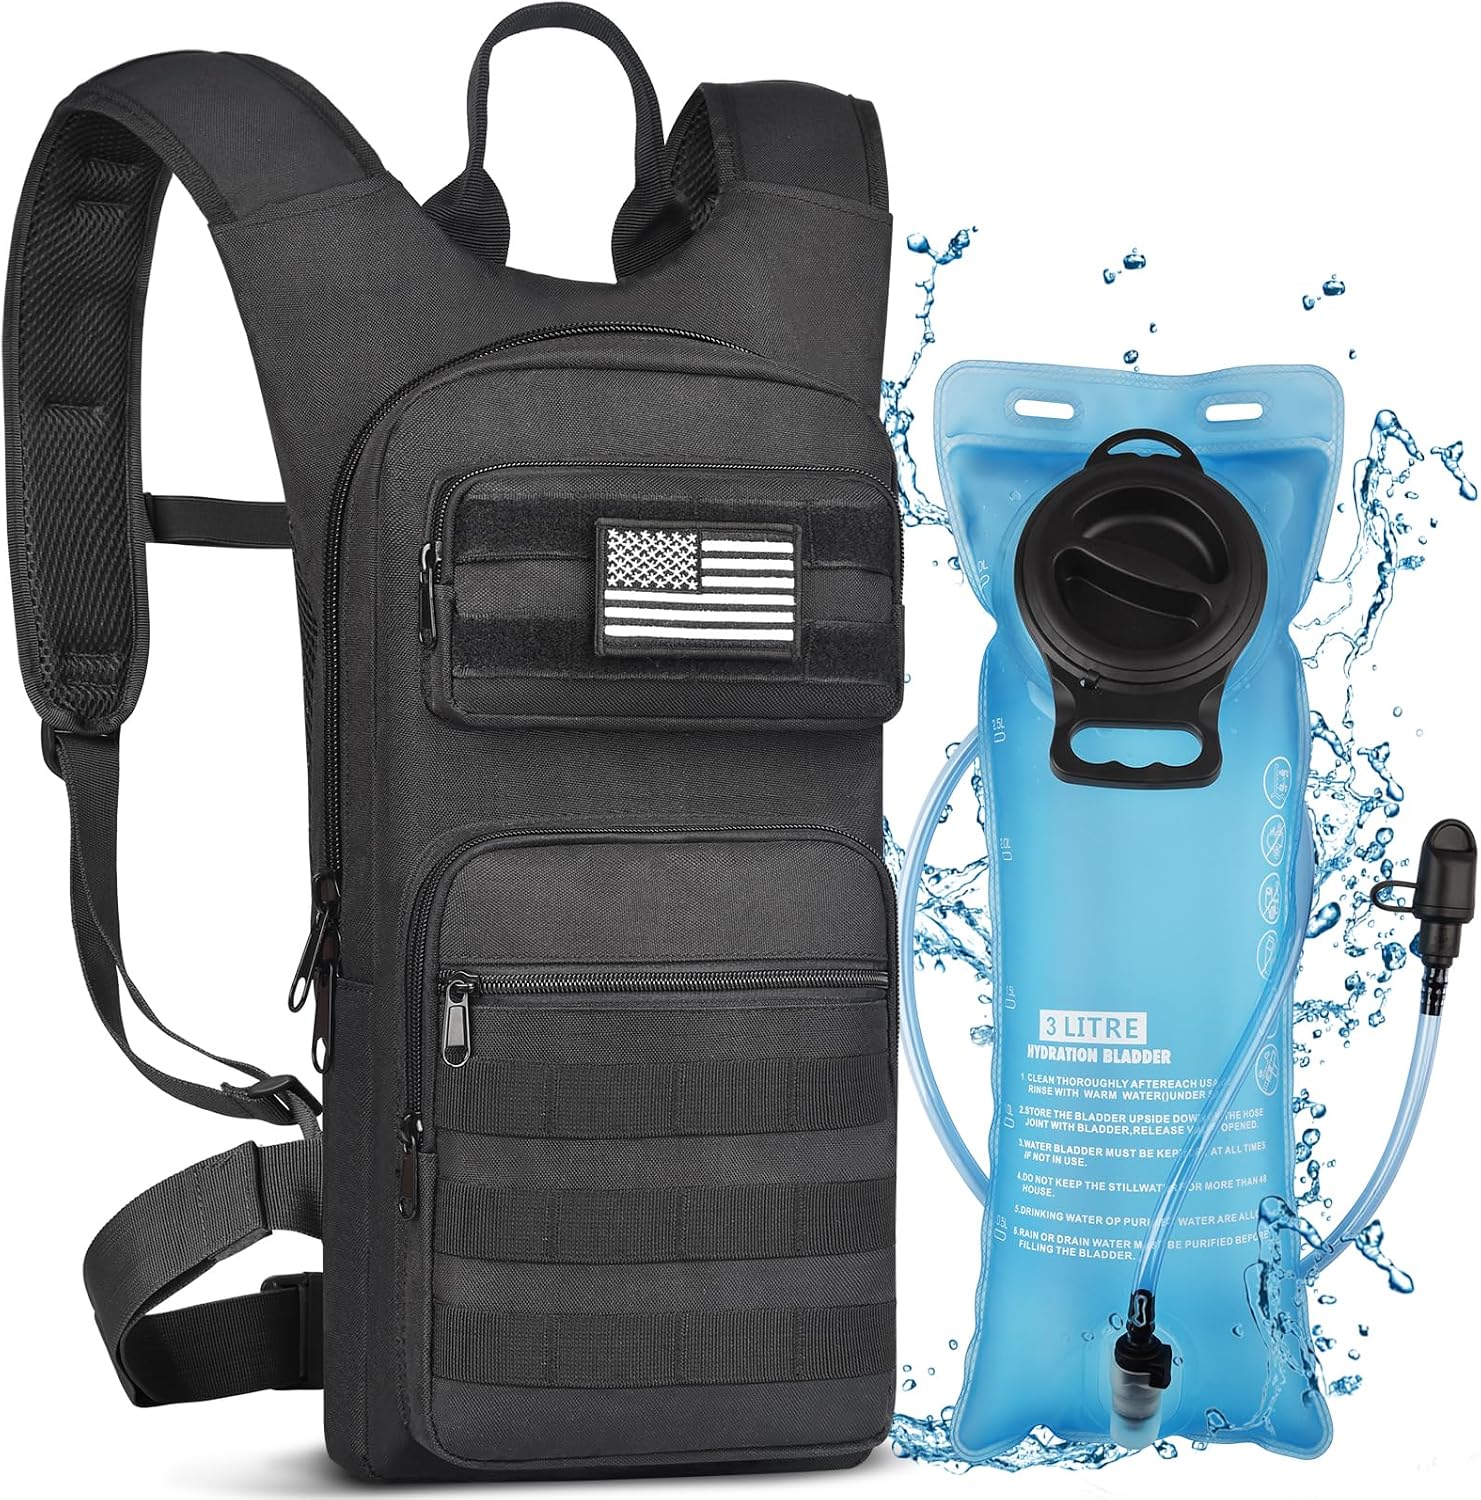
The NOOLA is the simpler of the two, and for a lot of hikers simple is the right answer. It arrives with a 3L bladder, so you are not shopping for a reservoir separately, and the layout is a straightforward daypack: a hydration sleeve, a main compartment, and enough organization for a shell and a lunch. Check current Amazon price.
For a first hydration pack, this is what I would hand someone who hikes local trails on weekends and wants the water on their back without paying for a mountaineering harness. It is a tactical-styled pack, which means more webbing and more straps than a pure hiking pack, and that cuts both ways. You can lash a layer to the outside on a warm day, but there is more to snag on brush and more to adjust when you are learning.
Flaws but not dealbreakers: This is a daypack. It carries a day's water and a day's layers and not much more, and if you try to turn it into a three-day pack the hip belt will let you know. That is true of every pack in this class, including the one below.
Anyone hiking frontcountry trails, commuting by bike, or carrying water for a kid on a family hike will be happy here.
Our pick: MARCHWAY Tactical Molle Hydration Pack Backpack with 3L TPU Water Bladder, Military Daypack for Cycling, Hiking, Running, Climbing, Hunting, Biking
 Visit on Amazon →
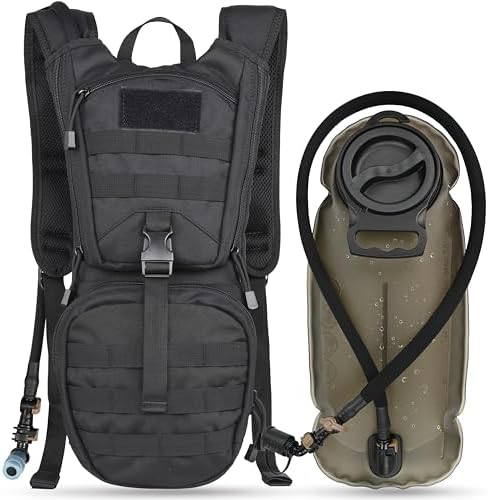
The MARCHWAY is the one I would pick if you want the pack to do a little more work. The bladder is TPU, which matters for two reasons: TPU is the material that does not pick up a plastic taste the way cheap vinyl bladders do, and it holds up better to being folded and shoved into a sleeve every weekend. The MOLLE webbing on the outside is the other reason to choose it. If you ride, run, or hunt with a pack, MOLLE gives you a place to strap a light, a small pouch, or a wet layer without stuffing everything inside the main compartment. Check current Amazon price.
The tradeoff is weight and complexity. MOLLE webbing, multiple compression straps, and a military-style layout mean more material and more buckles than the NOOLA carries. On a two-hour hike you will not notice. On a 20-mile day you will, which is exactly why setup matters more than the spec sheet.
Flaws but not dealbreakers: The extra webbing collects snags in brush, and the pack has enough pockets that you will lose things in it for the first month. Both are fixable with a small clip and a little discipline about where the car keys live.
Anyone who wants one pack for hiking, biking, and the occasional range day will get more use out of this one.
The actual setup workflow
Now the part you came for. This works on any hydration pack with a bladder sleeve, including both packs above.
Step one: Measure your torso first. Torso length is the distance from the bony bump at the base of your neck (C7) to the top of your hip bones (the iliac crest). It is the spec everyone ignores and the one that matters most. If your pack has an adjustable harness, set it to your measurement before you load anything. If the pack is one size and your torso falls well outside its range, return it and start over. No amount of hose routing fixes a pack that is the wrong length.
Step two: Fill the bladder and burp it. Fill it about three quarters of the way, hold it upside down with the bite valve open, and squeeze until water runs out and no air spits. Air in the bladder means the water sloshes, and slosh is what pulls a pack off your hips on descents. On steep terrain, fill to about 80 percent and let the bladder conform to your back instead of fighting it.
Step three: Put the bladder in the sleeve against your spine. Cap at the top, hose exiting through the port at the top of the sleeve. If the bladder has a hanger loop, use it. A bladder that slides to the bottom of the sleeve puts the weight in the worst possible place, below your center of gravity, and every step becomes a bounce. Then close the sleeve so the bladder cannot shift.
Step four: Route the hose on your drinking side. Over the shoulder, not under the arm. Thread it through the hose clip or the sternum strap keeper so the bite valve sits a couple of inches from your mouth. If the hose is long, coil the excess and clip it to the shoulder strap. Do not cut it. A hose that swings free will slap you in the face for six hours, and a hose that is too short will pull the valve out of reach every time you turn your head.
Step five: Load the pack around the bladder. Heaviest items closest to your spine and at shoulder-blade height: water first, then food, then a shell. Keep the things you want while walking, like snacks, a phone, and a map, in pockets you can reach without stopping. A pocket you cannot reach while moving is worse than no pocket at all.
Step six: Hip belt first, then shoulders. Buckle the hip belt and cinch it until the padding sits on the top of your hip bones, not up on your waist. This is the step people skip on small packs, because they assume a daypack does not need a real hip belt. It does. Then bring the shoulder straps down until they sit lightly on your collarbones, with no gap underneath and no weight hanging off them.
Step seven: Sternum strap and load lifters. The sternum strap keeps the shoulder straps from sliding outward. Set it at armpit height, snug but not tight enough to restrict breathing. If your pack has load lifter straps at the top of the shoulders, pull them until the pack sits flat against your back rather than sagging away from it.
Step eight: Walk 10 minutes, then adjust. Everything above is a starting point. Fill the pack, walk a loop, and fix the two things that are bothering you. The hose will need a re-route, the hip belt will need half an inch, and the sternum strap will need to move up. That is normal. Fit is a process, not a setting.
Step nine: Empty, rinse, and dry the bladder after every hike. A 3L bladder left full in a hot car tastes like a garden hose by the next weekend. Dump it, rinse it, and hang it upside down to dry with the bite valve open.
What these packs are not
A hydration pack is a daypack with a reservoir sleeve, and it is the wrong tool for three jobs:
- Overnight and multi-day trips. You need volume plus a frame that transfers real weight to your hips. A 3L daypack with a light belt will fold under a sleeping bag and a tent.
- Winter and mountaineering loads. Hoses freeze, and the layers you need do not fit. Use a pack with a real suspension and keep the water in an insulated bottle.
- Ultralight thru-hiking. A frameless pack works great if your base weight is under about 15 pounds. Above that, the frameless design punishes you, and so does a small pack with a flimsy belt.
If you are shopping for a 60-liter pack, none of this applies and you should be reading about suspension systems and hip belt sizing instead. If you are shopping for something to carry water and a shell on a day hike, you are in the right place.
What this all costs
Both packs above sit in the same modest band, and the current numbers live on the Amazon pages, so check current Amazon price on each before you decide. The math that matters is not the purchase price, it is the cost per hike. A daypack that carries well gets used 30 times a season. A daypack that does not gets used twice and then hangs in the garage.
Add a spare bladder if you hike often, so one can dry while the other is in the pack. A replacement reservoir costs a fraction of a new pack, and a bladder that tastes like last month's sports drink is the fastest way to stop drinking on trail, which is the actual safety problem.
The short version
Fill the bladder, burp the air, seat it against your spine, run the hose on your drinking side, and put the hip belt on before you touch the shoulder straps. Then walk 10 minutes and fix what bothers you. That routine takes 15 minutes the first time and about two after that.
The two packs here both ship with a 3L bladder and both cost about the same, so the decision comes down to how much pack you want. The NOOLA is the simpler daypack. The MARCHWAY gives you a TPU bladder and MOLLE real estate for the days when you want to strap something outside. Either one will carry fine once you set it up. Neither one will carry fine if you do not.
Fit first, features second. That order has never let me down on 8,000 miles of trail.