The trail tells you in the first mile whether the pack fits. I have carried a backpack roughly 8,000 miles in the last five years, the PCT in 2021 and big sections of the AT since, and the pattern never changes. The people who are miserable at mile 8 are rarely carrying too much weight. They are carrying it in the wrong place. A lightweight day hiking backpack is a simple piece of gear, and most people still set it up wrong.
This is not a buying guide about which pack wins. It is a how-to. Two packs are on the bench for this piece, a foldable 35 liter daypack and a hydration pack with a bladder and a sewn-in rain cover, and I am going to walk through how to set up either one so a 10 mile day does not end with your shoulders on fire.
If you take one thing from this article, take the hip belt.
Why you should trust me
I work part time in outdoor retail, mostly because the discounts are good and the customer questions are better. I test every pack the same way: a loaded 10 mile hike, a hip belt transfer check at mile 8, and a 30 day daily carry trial. I keep a grams per mile logbook, which sounds obsessive until you realize that is the only honest way to compare a pack you carried for two hours against one you carried for two weeks.
I have no sponsorship and no house brand. If a pack rides up onto my waist or has a pocket I cannot reach while walking, I say so. My rules are simple. No reviews without a loaded 10 mile hike, no ultralight verdicts on packs I have not weighed myself, and no gear lists that pretend everyone needs a $600 pack to walk in the woods on a Saturday.
How I picked and how I tested
The two packs here are the light end of the daypack market, and that is on purpose. Most people searching for day hike setup advice are not buying an expedition pack. They are buying something cheap, light, and packable that they will use a dozen times a season.
Each pack got the same treatment. I loaded it with a realistic day load: water, layers, food, a small first aid kit, and a camera. Then I walked 10 miles on a local PNW trail with a mix of climb and flat, and I paid attention to three things. First, where the weight sat at mile 8. If it had crept from my hips up to my shoulders, the pack failed the transfer check. Second, whether the pack stayed put when I leaned forward on a climb or scrambled over a blowdown. Third, whether I could reach what I needed without taking the pack off.
The number I trust most is not the weight on the tag. It is how the pack feels at mile 8 with a full load. A pack that carries 15 pounds well beats a pack that carries 10 pounds badly, every single time.
The two packs in this setup
Neither of these is a framed overnight pack, and neither pretends to be. They are day packs, and they solve two different problems: one folds down to nothing when you are not using it, and one carries water on your back so you can drink without stopping.
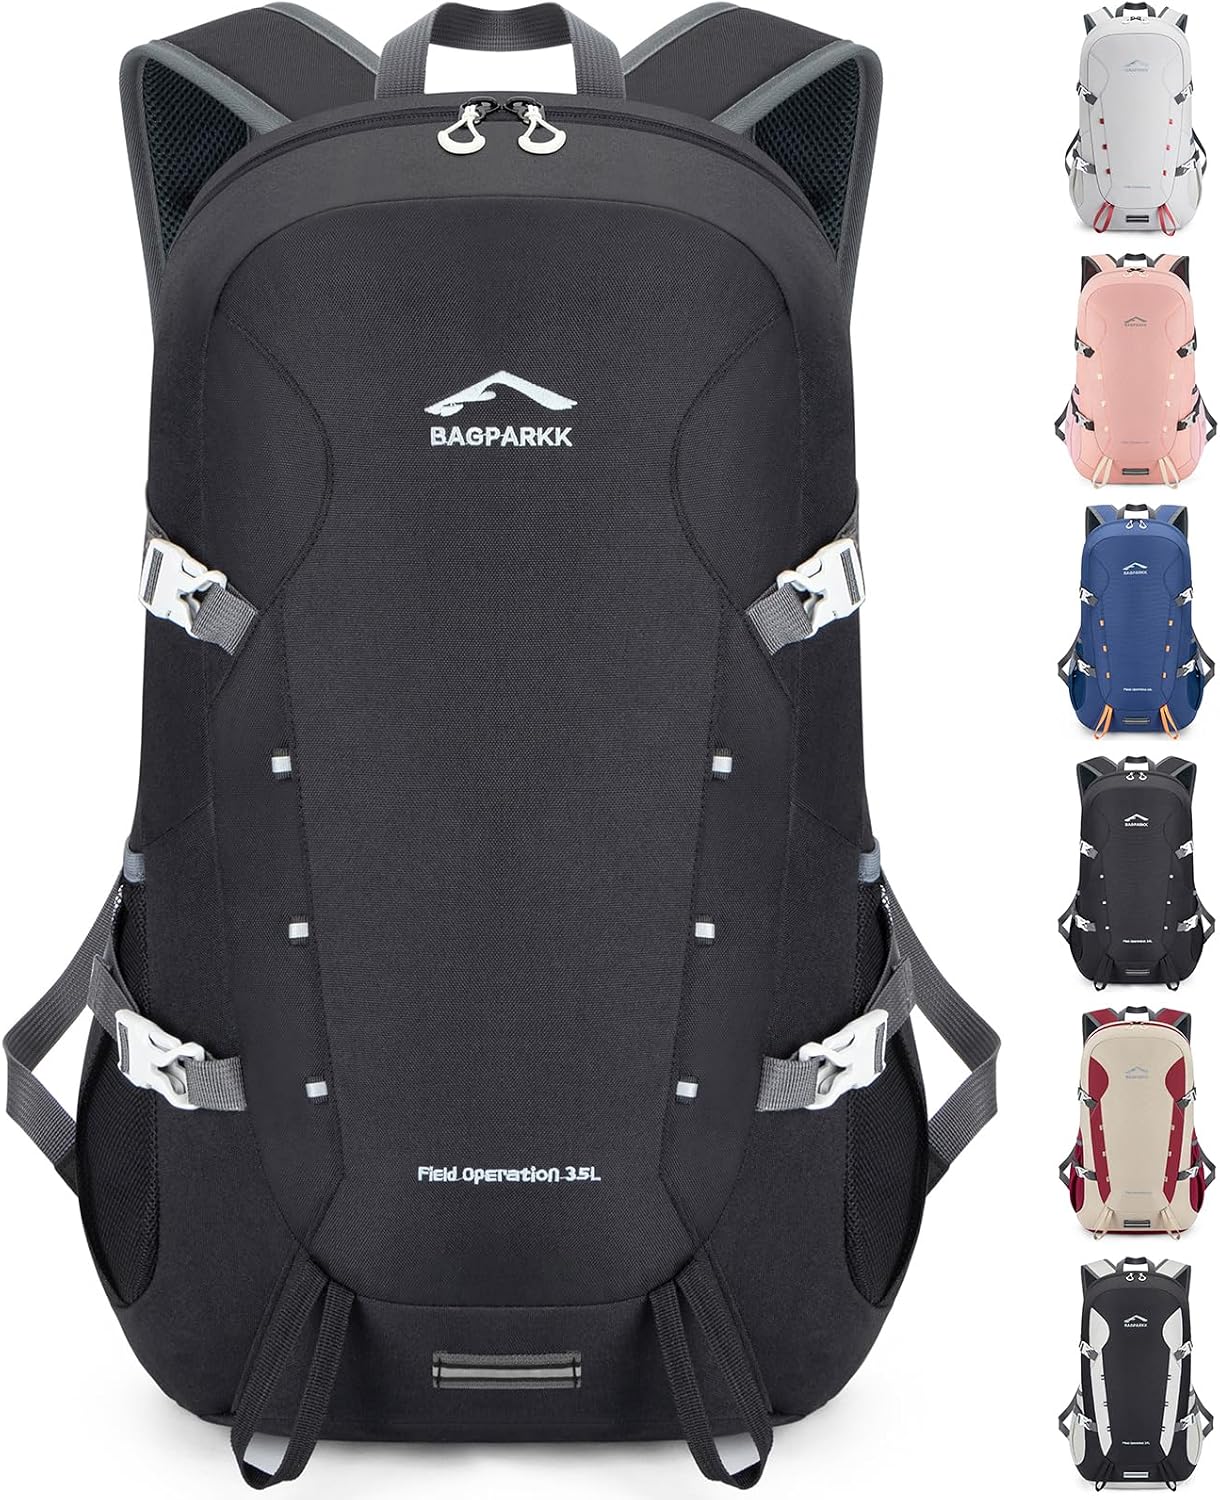
Budget daypack: BAGPARKK 35L Ultra Lightweight Foldable Packable Hiking Backpack
 Visit on Amazon →
The 35 in the name is the volume, and 35 liters is a genuinely useful day size. It swallows a full day load with room left over for a shell, which means you are not playing Tetris at the trailhead. The foldable, packable design is the entire reason this pack exists. It flattens down small enough to live in a suitcase or a larger pack as a summit bag, and that is a specific job that a framed pack simply cannot do.
The tradeoff of any pack in this weight class is structure. There is no real frame here, so the load transfer comes from how you pack it, not from the pack itself. That is exactly why the workflow below matters more with a pack like this than it does with a heavy framed pack. Get the packing order right and a soft pack carries far better than its weight suggests. Get it wrong and every mile reminds you.
Flaws but not dealbreakers: A pack this light does not have the padding or the frame to carry 25 pounds comfortably. Keep it under 15 pounds and it is a pleasure. Load it like an overnight pack and you will feel every step.
Anyone who wants a cheap, packable daypack for travel, summit days, or a spare in the car will get their money out of this one.
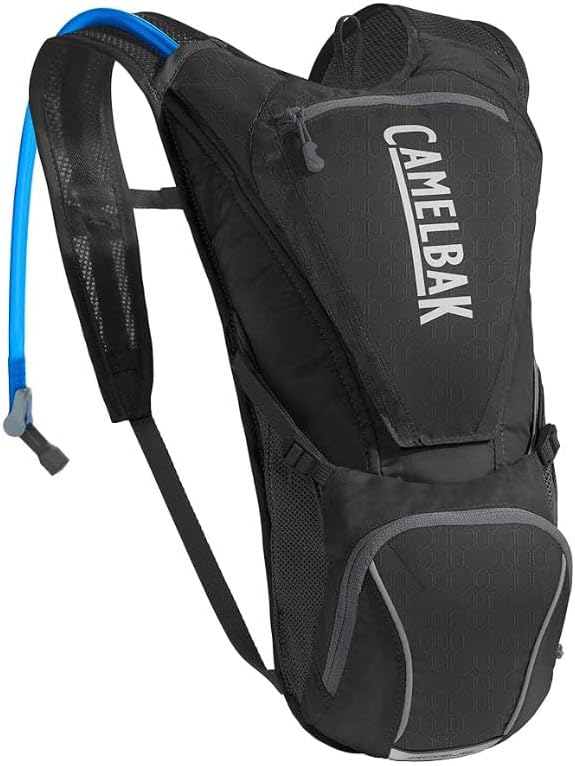
Hydration pick: Teton Oasis/Trailrunner Hydration Backpack, Lightweight Water Pack with 2L/3L Bladder for Hiking, Running, Cycling, Biking 18L/22L Sizes, Sewn-in Rain Cover, Fits Men and Women
 Visit on Amazon →
This is the pack I hand people who ask how to drink water on the move. The bladder is the point. You sip while you walk instead of stopping, unshouldering, digging a bottle out of a side pocket, and losing your rhythm. On a hot climb, that difference is worth more than any pocket layout on the market.
The sewn-in rain cover is the detail I appreciate most, because it is the feature people forget until they need it. A cover that lives on the pack is a cover you will actually use. And a rain cover that fits the pack but not the load is one of my standing pet peeves, so a cover that ships with the pack and packs around a loaded bag is a real win.
The 18 and 22 liter sizes and the 2 and 3 liter bladder options mean you can match the pack to your day. A 22 liter with a 3 liter bladder covers a full day hike. An 18 liter with a 2 liter bladder is a running or cycling pack. It is listed as fitting both men and women, but fit is not a marketing line. Check your torso length anyway.
Flaws but not dealbreakers: Hydration packs put the weight high and close, which is stable but warm on your back. If you run hot, plan on a wet shirt under the pack on a summer climb.
Anyone doing long day hikes, trail runs, or bike rides who wants water on demand without stopping should start here.
The actual setup workflow
Now the part you came for. This works on either pack, and it works on any daypack you already own.
Step one: Measure your torso. This is the spec everyone ignores and the one that matters most. Torso length is the distance from the bony bump at the base of your neck, C7, down to the top of your hip bones, the iliac crest. Not your height. Not your shirt size. Torso length. Have someone measure you with a soft tape while you stand straight. If the pack has an adjustable torso, set it before you load anything.
Step two: Set the hip belt first, before the shoulder straps. Loosen everything. Buckle the hip belt so the padding sits on the top of your hip bones, not on your waist and not on your belly. The belt should cup your hips. If it rides up onto your waist, it is too high and it will slide all day.
Step three: Cinch the hip belt hard. This is the part people get wrong. The hip belt does about 80% of the work. Pull it snug enough that the pack's weight sits on your skeleton, not on soft tissue. You should feel pressure on the front of your hips and almost nothing on your shoulders.
Step four: Load the pack by weight, not by category. Heavy items go high and close to your spine, right between your shoulder blades. That is the water, the food, the stove, anything dense. Light bulky items go at the bottom. Items you need while walking go in the pockets you can actually reach without stopping. A pocket you cannot reach while walking is worse than no pocket at all.
Step five: Route the hydration hose before you put the pack on. Fill the bladder, seal it, and check the seal over a sink, not over your sleeping bag. Run the hose out of the port, over your shoulder, and clip it where your mouth can find it without hands. Then take a test sip with the pack on. If you have to fish for the bite valve, reroute it now.
Step six: Tighten the shoulder straps last. With the hip belt locked, pull the shoulder straps just until they touch your body. They should not carry the load. They are there to keep the pack against your back. If your shoulders are holding weight, your hip belt is too loose.
Step seven: Dial the load lifters. Those small straps at the top of the shoulder straps angle the pack toward your body. Pull them gently until the top of the pack hugs your upper back. Over-tightening them pulls the pack off your hips, which defeats the whole setup.
Step eight: Set the sternum strap across your chest, not your throat. It should sit a couple of inches below your collarbones and stay loose enough that you can breathe deep on a climb.
Step nine: Walk a lap before you commit. Put the pack on, walk a few hundred yards, then stop and check three things. Is the weight on your hips? Can you reach your water and your snacks? Is anything digging in? Fix it at the trailhead, not at mile 5.
What to carry and where
The pack is only half the equation. A day load for a real hike looks like this. Water, one liter for every two hours of walking, more if it is hot. A shell, even in July, because Pacific Northwest weather does not negotiate. A layer for the summit or the shade. Food you will actually eat, not food you think you should eat. A headlamp, a small first aid kit, a map or a charged phone, and a way to treat water if the day runs long.
Pack the water high and centered. Pack the shell where you can reach it without taking the pack off, because the moment you need it is the moment you do not want to stop. Keep the first aid kit buried, because you should not need it often, and keep the snacks accessible, because you should.
The competition and why it lost
For overnight trips, none of this applies. A 35 liter foldable pack and a 22 liter hydration pack are day gear. If you are carrying a sleeping bag and a shelter, you need a framed pack with a real suspension, and that is a different article.
That said, the brands in that category are worth knowing. Osprey is the best all round brand I have used, and the anti-gravity suspension genuinely transfers load to the hips. Gregory builds the best hip belts in the business, which matters if you have hips and have been fighting packs that slide. Deuter's Aircontact line is the one I reach for with heavy loads. REI's Traverse line is the best value for weekend hikers, close to the Osprey experience at half the price. Hyperlite's ultralight packs are excellent if your base weight is under 15 pounds and punishing above it.
None of those are what this guide is about. They are for the trip where you sleep out. Today is the day hike.
What this all costs
Both packs here sit in the budget tier, which is the right place to start. Check current Amazon price at the links above rather than trusting any number you read in a review, including mine, because prices move.
The real math is not the purchase price. It is the cost per mile. A daypack you use twice a month for three seasons is a rounding error per hike. What costs you is the hike you cut short because your shoulders hurt, or the summit you skipped because you were fighting your pack instead of walking. That is the expensive version of cheap gear.
The setup above takes about five minutes at the trailhead. Do it once, learn where your hip bones sit under the belt, and you will do it in 30 seconds for the rest of your life. The pack does not care how much it cost. It only cares where the weight sits.
Put it on your hips. Then go walk.