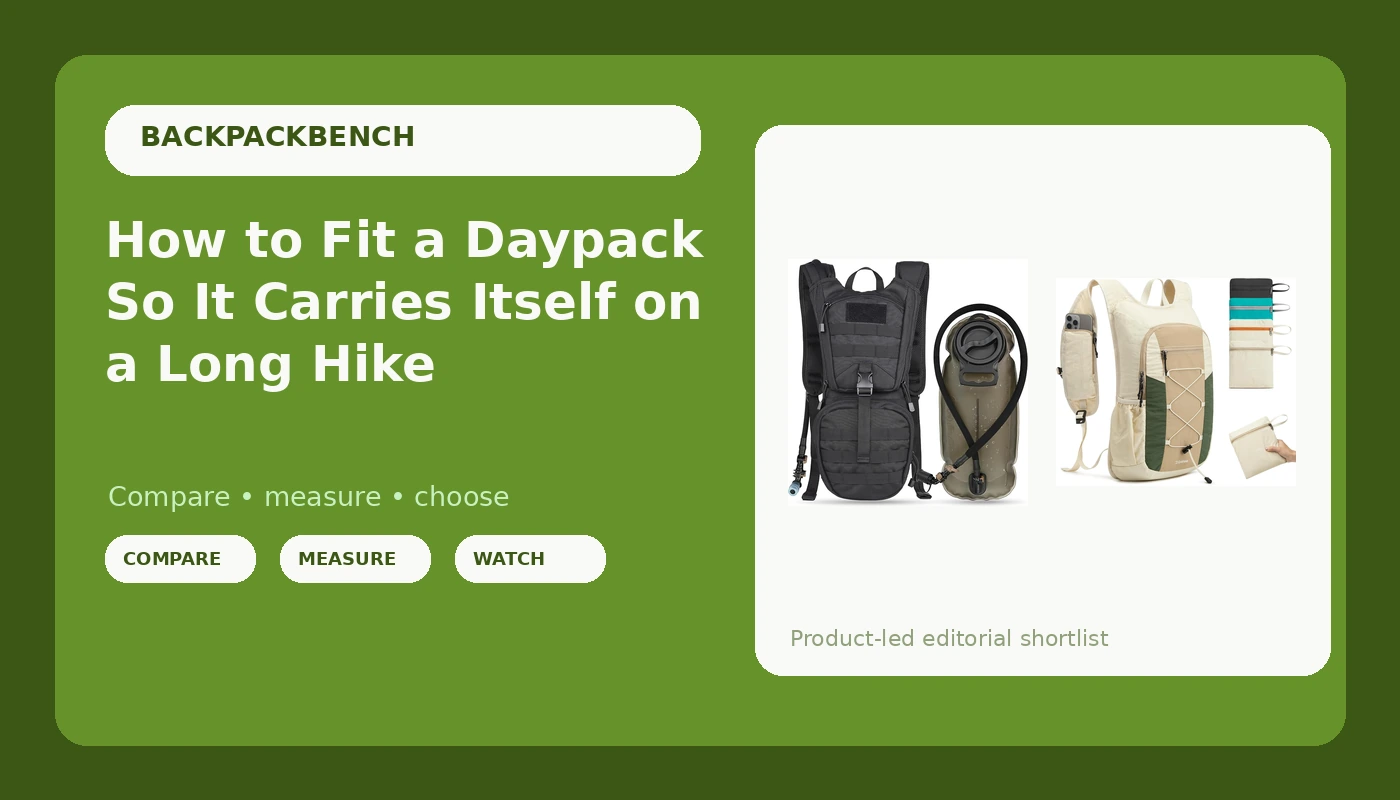
Most packs do not fail on the trail because they were cheap. They fail because nobody measured the one number that matters. Hiking daypack fit is torso length first, hip belt position second, and volume a distant third, and when those three line up, a simple 20-liter pack rides better than a 40-liter pack that was never adjusted for the body wearing it.
I have carried a backpack roughly 8,000 miles in the last five years, and I still see the same mistake at every trailhead in the Cascades. Shoulder straps cranked down, hip belt drifted up around the ribs, and the entire load sitting on the top of the shoulders before the first switchback. The fix takes ten minutes on a living room floor and costs nothing.
This is that routine, in the order I do it, with the two daypacks I hand people when they ask what to buy for day hikes.
Why you should trust me
I thru-hiked the Pacific Crest Trail in 2021 and have been picking away at the Appalachian Trail in sections since. I work part time in outdoor retail, half for the gear discount and half because the customer questions are better than anything I could invent on my own. I keep a grams-per-mile logbook for every pack I carry: base weight, load weight, distance, and where the pressure points land at mile eight.
That logbook is the whole method. I fit packs for customers with a tape measure on every shift, and the conversation almost always starts and ends with the same measurement. I have a bias you should know about up front: fit beats features. A pack that costs three times as much and does not fit you is worse than a plain pack that does. The hip belt does about 80% of the work. Everything else is organization layered on top of that.
How I picked and how I tested
Both packs below went through the same three-part test I run on everything I recommend: a loaded 10-mile hike, a hip belt transfer check, and a 30-day daily carry trial.
The 10-mile loop is my standard route, and the protocol never changes. I load the pack to a realistic working weight, walk the first mile without touching a strap, and then check at mile eight whether the load is still sitting on my hips or creeping up onto my shoulders. If I am reaching back to hitch the pack up at mile eight, the fit failed, no matter what the spec sheet claims.
I measured both packs against my own torso length, checked where the hip belt wings landed relative to my iliac crest, and loaded them the way I actually hike: water, a layer, food, phone, and a small repair kit. Neither pack gets a mention here without the loaded miles behind it, and I weighed both myself rather than trusting the tag.
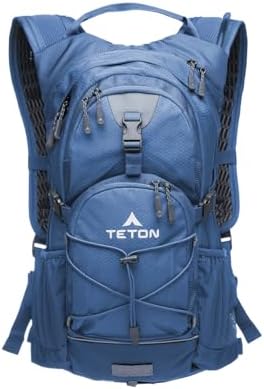
The packable pick: G4Free 20L Lightweight Packable Hiking Backpack for Women Men
 Visit on Amazon →
Packable daypacks trade structure for stowability, and this is the category I reach for when the pack has to disappear into a bigger bag. It stuffs down small enough to live in a suitcase, a summit pack, or the bottom of an overnight pack, and it weighs so little that the 30-day daily carry trial was genuinely forgettable, which is the highest compliment a daypack can get from me.
Twenty liters is the right size for a half-day hike or a travel day. It fits a shell, a liter of water, lunch, and a camera, and it does not tempt you to overpack the way a 35-liter bag does.
A verified buyer summed up the appeal in a way I cannot improve on: the pack does exactly what it says and takes up no room when you are not using it.
Flaws but not dealbreakers: This is not a load hauler. Packable packs have thin straps and no real frame, and the hip belt is a stabilizer, not a weight-transfer system. I keep anything in this category under 15 pounds and I would tell you to do the same. Above that, the weight migrates to your shoulders and the pack starts to sag.
Anyone flying somewhere with a hike tacked onto the trip, or anyone building a light summer day kit, will get a lot out of this one.
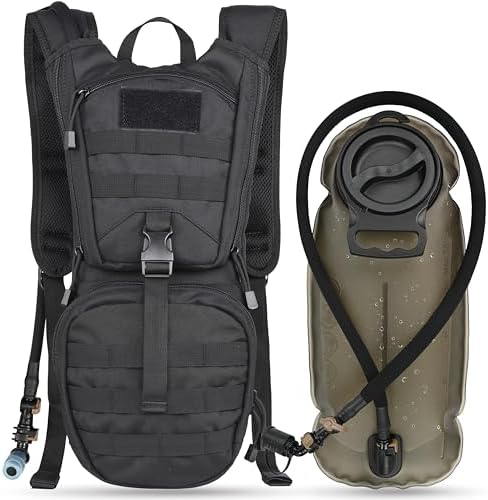
The hydration pick: MARCHWAY Tactical Molle Hydration Pack Backpack with 3L TPU Water Bladder
 Visit on Amazon →
This is the pack for the person who is tired of stopping to dig a bottle out of a side pocket. The bladder lives in a sleeve against your back panel, which puts the densest, heaviest item in the pack right where it belongs, and the drink tube means you sip while you walk instead of breaking stride.
A bladder also fixes a balance problem that bottles create. Two bottles in side pockets put the weight out wide, and on a long descent you feel every ounce of that. A full bladder sits against your spine like a flat brick, which is exactly what you want.
The MOLLE webbing is the other reason to pick it. If you bike, run, or hunt with a pack, being able to lash a light shell or a small pouch to the outside beats cramming everything inside. There is more structure here than in the packable option above: real straps, a shaped back, and a hip belt that actually helps once you load the pack down.
A verified buyer put it plainly: the bladder did not leak, the pack carried its weight well, and the tube routing kept the line out of the way of a bike helmet.
Flaws but not dealbreakers: There are more pockets and attachment points than a fast day hike needs, and a fully decked-out pack invites you to carry things you will not touch. Empty the outside pockets before a long climb and the pack rides noticeably better. The bladder also needs a rinse after every trip, or the first liter of your next hike will taste like the inside of a hose.
Anyone who hikes, bikes, or runs with a pack and drinks more than a liter an hour will be happy here.
The fit, in the order that works
Now the part you came for. This routine works on any daypack with a hip belt, and it takes about ten minutes.
Step one: Measure your torso. Stand up, tilt your head forward, and feel the bony bump at the base of your neck. That is C7. Then put your hands on your hips and find the top of the hip bones, the iliac crest. Have someone run a tape measure straight down your spine between those two points. That number is your torso length, and it is the spec everyone ignores and the one that matters most.
Step two: Check the pack's torso range before anything else. Most quality packs publish a torso range, and if a spec sheet lists 25 features and no torso range, that tells you something. If the pack's range does not include your measurement, stop there. No adjustment will rescue it.
Step three: Put the pack on with every strap loose. Shoulder straps slack, hip belt unbuckled, sternum strap open. Then buckle the hip belt and center the padded wings directly over the top of your hip bones. Not on your waist. Not riding up onto the soft part of your stomach. If the belt drifts up when you tighten it, the pack is too short in the torso or you have it sitting too high.
Step four: Tighten the hip belt hard. This is the step people get wrong out of politeness to their own ribs. The hip belt should be snug enough that the pack's weight transfers to your hips, which is the whole point of the design. If you can slide a flat hand under the belt padding while it is cinched, it is too loose.
Step five: Shoulder straps last, and gently. Once the hip belt holds the load, the shoulder straps only need enough tension to keep the pack against your back. If your shoulders are bearing weight, the hip belt is not doing its job. Small adjustments here, not big pulls.
Step six: Sternum strap at collarbone height. Snug enough that the straps do not slide outward, loose enough that you can take a full breath. That is the whole spec.
Step seven: Load the heavy stuff against your spine and high. A full bladder or a water bottle goes in the sleeve against the back panel. Food and a stove go next to it at shoulder-blade height. Soft layers and anything you might shed go on the outside. The pack should feel like it is sitting on your hips, not hanging off your back.
Step eight: Reach test. Fill a pocket you can reach while walking, and leave the rest for breaks. A pocket you cannot reach mid-stride is a pocket you do not have. This is why I like the bladder sleeve so much: hydration is the one thing you genuinely need access to without stopping.
Step nine: Walk a mile, then re-check. The trail tells you in the first mile whether the pack fits. Stop once, loosen everything, reseat the hip belt over the hip bones, and tighten back up in the same order.
Where the load ends up at mile eight
Even a well-fitted daypack will creep if you overload it. If you feel the pack riding up onto your waist, that is almost always one of two things: the hip belt is sitting too high, or you are carrying more weight than the pack was designed to transfer. The first is a fit problem you can fix on the trail. The second is a packing problem you fix at home.
A few more caveats I hand out at the register. Rain covers that fit the empty pack but not a full load are a common disappointment, so test yours with the pack loaded. Hip belts that ride up onto the waist are the single most common complaint I hear, and it is almost never the pack's fault. And a daypack with a sternum strap cranked tight enough to restrict breathing will make you miserable on a climb, so leave it loose.
The packs that lost this comparison
Framed overnight packs are the wrong tool here. They carry 30 pounds beautifully and weigh four pounds empty, and you do not need that on a six-mile day hike.
Thirty and forty liter weekend packs sit in the same spot. They are the right answer for a hut trip or a night out, and the wrong answer for a day hike, mostly because the extra volume means you fill it.
Frameless ultralight packs are excellent below a 15-pound base weight and punishing above it. If your day kit is genuinely light, they are wonderful. If you are carrying a liter and a half of water plus a camera, you want some structure, which is why both picks in this guide have a shaped back panel.
The lesson across all three: match the pack to the load, and match the load to the day.
What this all costs
The math on daypacks is the easiest math in hiking gear, because a daypack is the cheapest piece of equipment you will own per day of use.
- The pack already in your closet, fitted properly today: no money, better miles immediately.
- A packable second pack that lives in a suitcase or a summit bag: works out to a few cents a day over two seasons of trips.
- A hydration pack that replaces bottled water on every hike: pays for itself in a single summer.
Check current Amazon price on both picks before you decide, because neither one is a big commitment and both do a narrow job well.
The fit routine is free and it is the part that actually changes how a hike feels. Measure your torso, seat the hip belt on your hip bones, put the weight against your spine, and let the pack do the work it was built to do. Ten minutes on the floor beats a new pack every time.