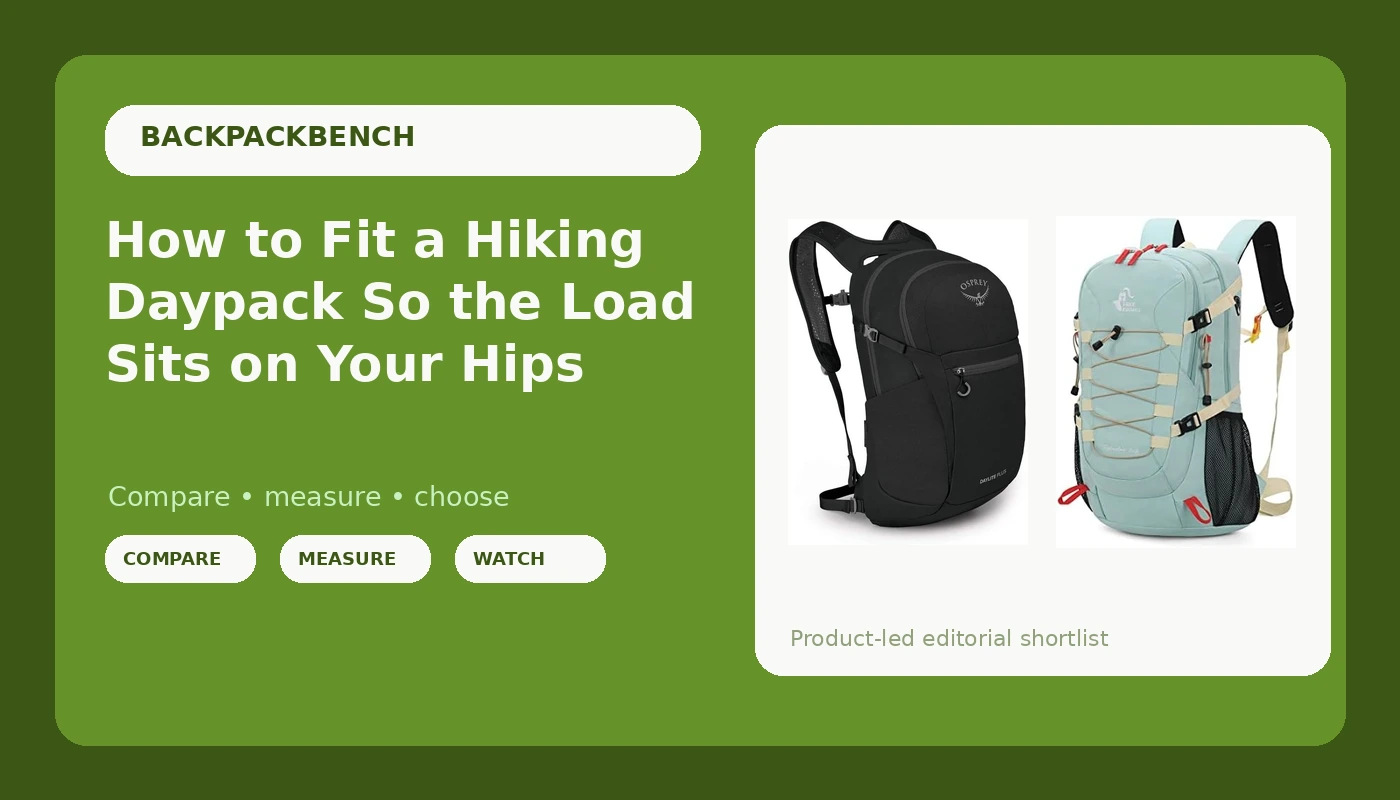
Most people buy a daypack the way they buy a jacket: color first, capacity second, and whichever strap felt fine for the thirty seconds they stood in the aisle. Then they load it with three liters of water, a rain shell, and lunch, walk five miles, and wonder why their shoulders are on fire. The pack is rarely the problem. The hiking daypack fit is.
A good fit comes down to three numbers and one walk test: torso length, hip belt placement, and strap angles, all checked with the pack loaded the way you will actually carry it. Get those right and an inexpensive pack carries better than a premium one that hangs off your shoulders. Get them wrong and even a beautifully built pack turns into a shoulder-squashing brick by mile eight.
I fit packs part time at an outdoor shop in Seattle, and I have carried a backpack roughly 8,000 miles in the last five years. Here is the order I run through every time, plus the two packs I point most people to when they ask where to start.
Why you should trust me
I thru-hiked the PCT in 2021 and have section-hiked the AT, which means some years I spent more nights sleeping next to a backpack than in a bed. Over the last five years I have carried a pack roughly 8,000 miles and logged the weight of nearly everything I own in a grams-per-mile notebook.
That is the background. What matters more is what it taught me. Fit beats features. A $400 pack that does not fit you is worse than a $100 pack that does. The hip belt does about 80 percent of the work of carrying a load, and everything else, the pockets, the compression straps, the lid, is organization stacked on top of that. Torso length is the spec everyone ignores and the one that decides whether any of it works.
I also work retail part time, mostly because I like the gear discount and I like hearing what actually breaks. The questions I get across the counter are the same ones I answer here.
How I picked and how I tested
The two packs below are not a ranked list of the best daypacks on the market. They are the two I hand people when the job is different: a light commuter and day-hike pack for someone who wants one bag for both, and a bigger rain-ready pack for someone who gets rained on and does not want to think about it.
Here is what I check before a pack earns a recommendation, in order:
- Torso range. If the listing does not publish one, that is already a strike. Height ranges are marketing, not fit.
- Hip belt structure. A padded, wrap-around belt transfers load. A webbing strap with a buckle does not, no matter how big the pack is.
- Load lifter anchors. They should sit above the shoulder and pull the top of the pack toward you. Without them, the pack tips backward on descents.
- Pocket reach. If you cannot reach a pocket while walking, it is a pocket you will never use. A useless pocket is worse than no pocket.
- Weight as carried. I weigh my own gear. A rain cover, a full bladder, and a day of food change the number a lot.
Then the walk test, which is the only test that counts. Load the pack the way you will carry it, walk a mile, and pay attention to where the weight lands. If it is on your shoulders, nothing else about the pack matters.
Two packs to start with
Both of these are honest starting points. What separates them is the job, not the badge on the front.
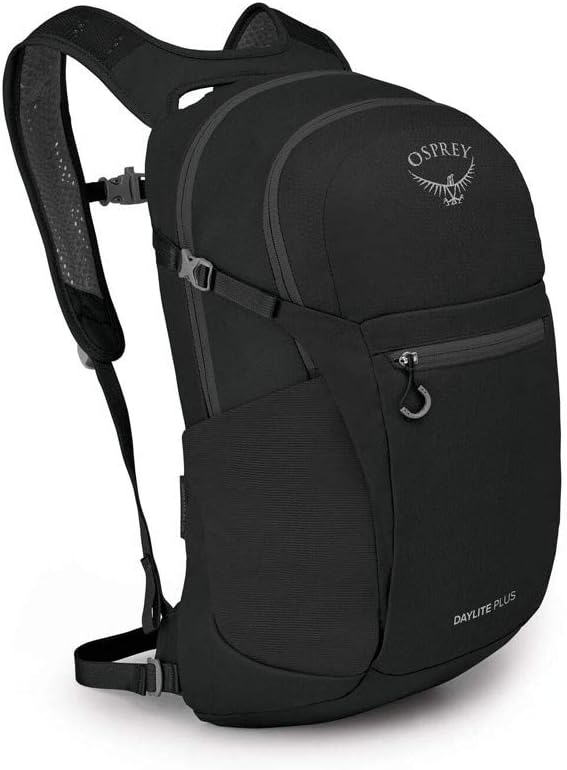
Commuter and day-hike pick: Osprey Daylite Plus Commuter Backpack, Black OS
 Visit on Amazon →
Osprey is the brand I default to for a first real pack, mostly because the suspension designs transfer load honestly and the warranty is legendary. The Daylite Plus is built for the commute-and-weekend double life: one bag that goes to the office on Tuesday and out on a Saturday trail.
Two things to check before you order it. First, the torso range on the listing, because this is a one-size pack and one size fits the middle of the bell curve, not everyone. If your torso lands at either end of the range, keep reading. Second, look closely at the hip belt. If it is a padded belt, you can put real weight in this pack. If it is webbing, treat it as a shoulder-carried commuter and keep the load under about fifteen pounds.
Check current Amazon price. For a bag that will see a train seat, a grocery run, and a muddy trail in the same week, that is the whole value proposition.
Flaws but not dealbreakers: One size means one size. If you measure your torso and it falls outside the published range, this pack will never sit right no matter how you adjust it.
Anyone who wants a single light pack for the city and easy trails, and whose torso lands mid-range, will be happy here.
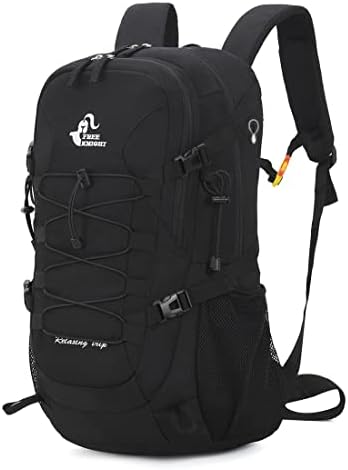
Rain-ready pick: Bseash 40L Waterproof Hiking Backpack with Rain Cover, Outdoor Sport Travel Bag Daypack for Camping Climbing Skiing Cycling (Milk Green)
 Visit on Amazon →
The included rain cover is the reason this one makes the list. Rain covers are a personal pet peeve of mine, because most of them fit the pack but not the load. Cinch down a full bag and the cover pops off the top, which is exactly when you need it. On a pack this size, check that the cover still fits over a fully packed bag and not just an empty one.
The other thing to know is that 40 liters is not a daypack anymore. It is a pack that can carry an overnight load if you pack light, and that means the hip belt has to do real work. Confirm the belt is padded and wraps your hips before you commit. A 40-liter load on webbing straps will wreck your shoulders faster than a heavier pack with a proper belt.
Check current Amazon price. If you hike in the Pacific Northwest, or anywhere that rains sideways, having the cover in the same box as the pack saves you a separate purchase and a separate thing to forget at home.
Flaws but not dealbreakers: A cover only protects what it covers. Straps, hip belt pockets, and anything hanging outside the bag still get wet, so dry-bag your electronics anyway.
Anyone who wants one pack for wet day hikes and light overnights, and who will actually use the hip belt, should look here first.
The actual fit workflow
This works on any pack with a real hip belt. Do it in order. Skipping ahead is how people end up with sore shoulders.
Step one: Measure your torso. Find the C7 vertebra, the bony bump at the base of your neck when you tilt your head forward. Then find the top of your iliac crest, the ridge of your hip bone. Measure the straight line between them, and have someone help, because you cannot do this accurately on yourself. Your height is irrelevant here. A 5-foot-2 hiker and a 6-foot-1 hiker can share a torso length.
Step two: Match that number to the pack's torso range. Not the height range, not the capacity, not the color. If the pack does not list a torso range, treat it as a one-size pack and assume it fits the middle of the bell curve.
Step three: Load the pack realistically. Put in the water, the layers, and the food you would actually carry. Water is the heaviest single item and it belongs high and close to your spine, not at the bottom of the bag where it swings.
Step four: Hip belt first. Center the padding over your iliac crest, the hard ridge, not the soft part of your waist. Cinch it firm enough that the pack's weight settles onto your hips. This is the step that does 80 percent of the work.
Step five: Shoulder straps second. Snug, not tight. They should curve over your shoulders and come down without gaping at the armpit. If you are pulling hard on them, your hip belt is too loose.
Step six: Load lifters. These small straps at the top of the shoulder straps should angle forward and slightly down, around 45 degrees. Tighten them until the top of the pack pulls in toward your back. This is what keeps a loaded pack from tipping away from you on descents.
Step seven: Sternum strap. Set it across your sternum, not your throat, and snug enough to keep the shoulder straps from sliding outward. It should not restrict your breathing at all.
Step eight: Walk a mile, then re-tighten. Load settles. Straps stretch. The hip belt that felt perfect in the parking lot will feel loose at the first switchback. Stop once, re-cinch the belt, and you are done for the day.
Load transfer: where the weight should sit
If your shoulders ache after an hour, the load is not on your hips, and no amount of shoulder strap fiddling will fix it. The hip belt does the carrying. Everything above it is there to keep the pack from moving around.
Three signs the transfer is wrong. One, the hip belt rides up onto your waist as you walk. Two, the pack sways side to side with each step, which means the belt is not snug or the pack is too wide for your hips. Three, you can slide a hand between the shoulder straps and your shoulders while the pack is loaded, which means the shoulders are carrying everything.
Fix those before you buy a different pack. Most of the time the pack is fine and the belt is just loose.
The competition and why it lost
There is a whole category of packs that are great and simply not what this guide is about.
Frameless ultralight packs are wonderful if your base weight is under fifteen pounds. Above that, the design punishes you, and a day hiker carrying water and layers is often right at that line. A 50-liter overnight pack with a stiff frame is the right tool for a different trip, and it is overkill for a commute. School-style backpacks with a laptop sleeve and no real hip belt are fine for books, but they are not carrying water and layers on a trail.
Brand-wise, the opinions I hold are simple. Osprey is the best all-round brand for most people. Gregory's big packs have the best hip belts in the business, and if you have hips, Gregory figured that out before everyone else. Deuter's heavy-load packs are the ones I recommend when the load is genuinely heavy. Hyperlite is superb under fifteen pounds of base weight and miserable above it. REI's own packs are the best value for weekend hikers. None of that changes the first question, which is whether the torso length is right for you.
What this all costs
Both packs here sit at the affordable end of the market, and neither one requires a second mortgage to get started. Check current Amazon price on each listing before you compare them, because that number moves and I do not print prices I cannot verify on the day you read this.
What you are actually paying for is not the fabric. It is the torso range, the hip belt, and the warranty. A pack that fits costs you nothing extra per day and saves you a chiropractor visit. A pack that does not fit costs you the same money and ruins every hike you take it on. The math is not close.
Measure your torso this week. Write the number down and keep it in your phone. Every pack decision you make for the next ten years gets easier once you know it, and every pack you already own gets more comfortable once you set the hip belt first and the shoulder straps second.
That is the whole job. The trail will tell you in the first mile whether you got it right.