Most daypack problems are not pack problems. They are setup problems.
A hiking daypack fit that puts the weight on your shoulders at mile eight almost never means the pack is bad. It usually means the hip belt is sitting in the wrong place, nobody checked torso length, or the load got packed so the heaviest item sank to the bottom and dragged the whole thing off your spine. I have carried a backpack something like 8,000 miles in the last five years, and I can count on one hand the number of times a pack let me down when it was fitted correctly.
This is the order I run in the shop, fitting tape in one hand and a loaded pack on somebody's back. It works on a cheap packable daypack and it works on a framed hauler. Two packs sit on the bench for this walkthrough: a hydration daypack with a bladder, and an ultralight packable daypack, because those are the two shapes most day hikers actually end up buying.
Why you should trust me
I thru-hiked the Pacific Crest Trail in 2021 and have been chipping away at the Appalachian Trail in sections since. Add up the last five years and it comes to roughly 8,000 miles under a pack, most of it in the Cascades and the Sierra. I work part time in outdoor retail, partly for the gear discount and mostly because the customer questions are honest and useful, and I keep a grams-per-mile logbook that is more embarrassing than it is scientific.
The lesson from that logbook: the tag weight is fiction. What matters is where the load sits at mile eight, and that is a fitting question, not a spec-sheet question. Fit beats features every time, and an expensive pack that does not fit is worse than a cheap one that does.
How I picked and how I test
Four things decide a daypack for me:
- Torso range. If the maker does not publish one, treat that as a warning.
- Hip belt transfer. At mile eight the weight should be on your hips. The shoulder straps should feel like they are only holding the pack against your back.
- Reachable pockets. A pocket you cannot open while walking is worse than no pocket.
- Load behavior. How the pack carries once you add water, a layer, and lunch.
The two packs below cover the two most common day-hike setups. Neither is a mountaineering pack, and neither is built to carry 40 pounds.
The two packs this walkthrough uses
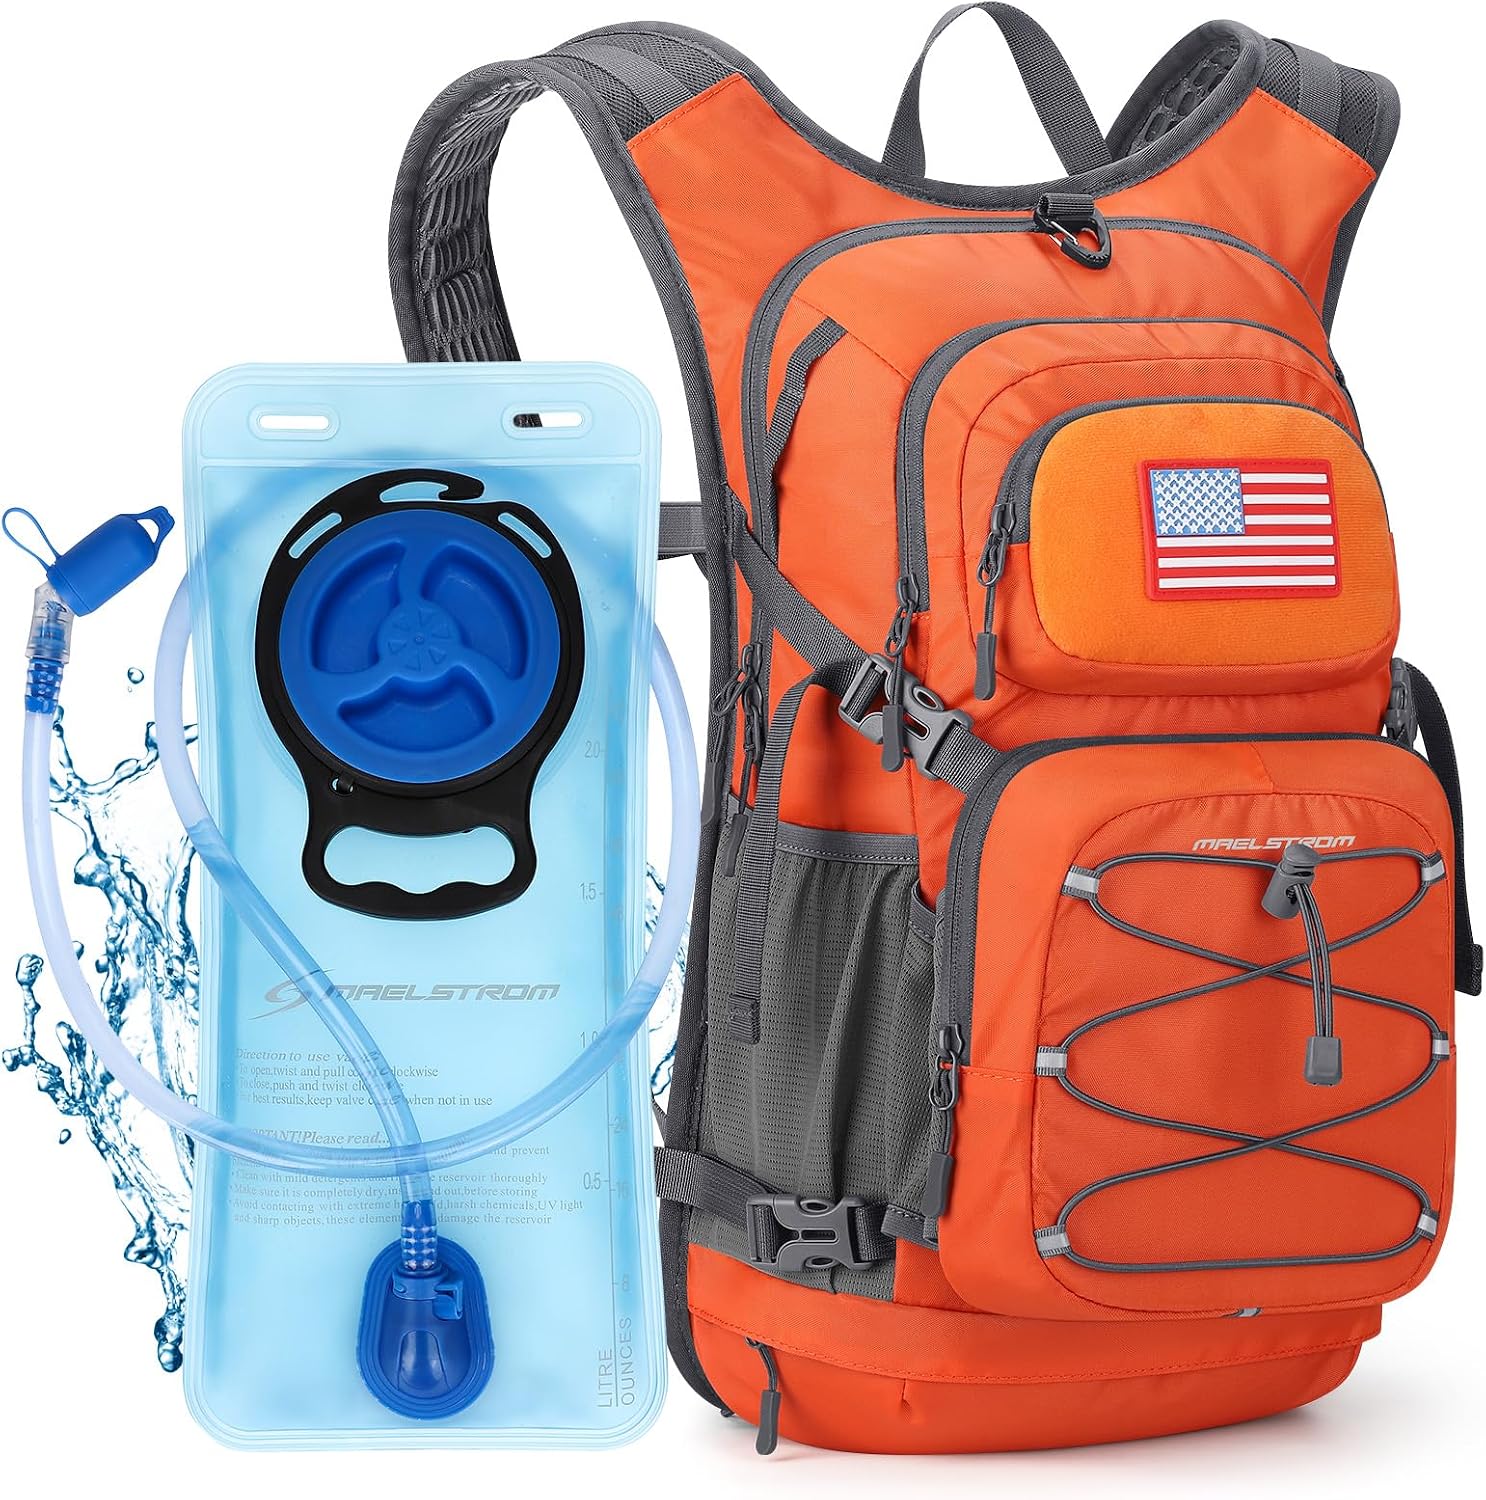
Our pick for all-day hydration: Maelstrom Lightweight Hydration Hiking Backpack with 2L/3L Water Bladder
 Visit on Amazon →
If you want the water on your back and you do not want to think about it, this is the shape to look for. The bladder option matters more than people admit. With a 2L or 3L reservoir in the sleeve and the hose routed down the shoulder strap, you sip in small amounts all day instead of stopping to wrestle a bottle out of a side pocket. That changes how a long climb feels, especially on a hot afternoon.
The second thing the hydration design gets right is weight placement. A full reservoir sits flat against your back, close to your spine and high enough to stay between your shoulder blades. That is exactly where heavy things belong, which is why the bladder sleeve doubles as the best place to carry your water on any day hike.
Fit notes for this one: measure your torso before you commit, then set the hip belt first and the shoulder straps second. A hydration pack rewards a snug belt, because the weight is already sitting against your spine. If the belt rides up onto your waist while you walk, it is too high or too loose, and no amount of strap fiddling fixes it.
Flaws but not dealbreakers: A reservoir is one more thing to rinse and dry. If you know you will never clean it, a bottle-based pack is the honest choice. A bladder hose also adds a step to every refill, so plan on a couple of extra minutes at the creek.
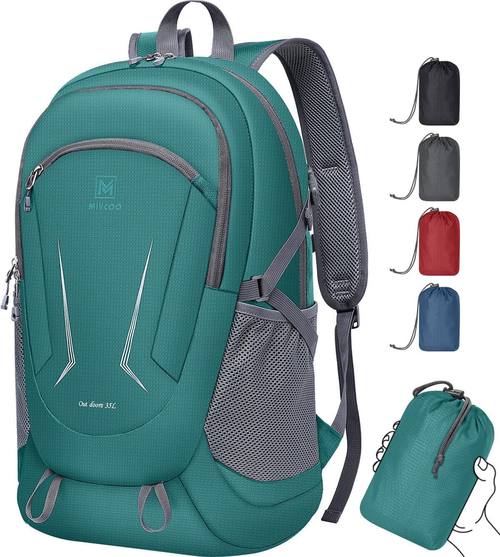
Budget pick for packable miles: MIYCOO Ultralight Packable Backpack, 35L Waterproof Hiking Daypack
 Visit on Amazon →
This is the pack that lives folded in a suitcase or a car trunk until you need it. The 35L volume is a real day-hike number: a layer, lunch, three liters of water, a camera, and a first aid kit all fit with room for a shell on top. Waterproof fabric means you are not babysitting a rain cover in a Pacific Northwest drizzle, which is the single most useful feature a daypack can have around here.
The tradeoff with any packable design is structure. There is no frame, so the pack gets its shape from how you load it. That is not a flaw, it is a different discipline. Roll your layers instead of stuffing them, put the water low and centered, and cinch the compression straps before you tighten the shoulder straps.
Flaws but not dealbreakers: No frame means no load transfer beyond the belt it has. Keep this one under about 15 pounds. Past that, the weight migrates to your shoulders and stays there, which is the opposite of what you want at mile eight.
The actual fitting and loading workflow
Nine steps, in order. Do them once at home with a loaded pack and you will not think about it again on trail.
Step one: Measure your torso. This is the measurement everyone skips and the one that decides everything. Find the bony bump at the base of your neck, C7, then find the top of your hip bones, the iliac crest. The distance between them, measured down your spine, is your torso length. Use a piece of string and a tape measure, or stand against a wall and have somebody mark both points. Write the number down. Every pack question after this one gets easier.
Step two: Match the pack to the number. Look for a published torso range before you look at anything else. If you fall between sizes, size down, because a shorter pack can be extended with the load lifters while a taller one will drop the hip belt below your hips.
Step three: Set the hip belt first, shoulder straps second. Buckle the belt and center the padding over the iliac crest, not on your waist. The belt should cup the top of your hips. If it floats above them, the pack is too short for you or the belt is riding too high.
Step four: Tighten the belt like you mean it. The hip belt does about 80% of the work. Most people leave it too loose, then crank the shoulder straps to compensate, then wonder why their shoulders ache at mile six. Tighten the belt until the pack's weight settles onto your hips, then stop.
Step five: Snug the shoulder straps last. They should follow the curve of your shoulders and come down to about armpit level with no gap behind your shoulders. Snug, not tight. If they are doing the lifting, go back to step four.
Step six: Dial the load lifters and the sternum strap. Load lifters are the small straps at the top of the shoulder straps. Pull them until they sit at roughly a 45-degree angle to the pack body. That angle pulls the top of the pack toward your back and keeps it from sagging. The sternum strap goes across your chest, not your throat, and it should be loose enough that you can breathe deep.
Step seven: Pack heavy items in the middle, close to your spine. For a daypack that means water, then food, then everything else. Heavy and low feels stable, but heavy in the middle at shoulder blade height feels almost weightless. What you want to avoid is a heavy item at the very bottom, which drags the pack down and pulls the shoulder straps into your neck.
Step eight: Route the bladder properly. Fill the reservoir, turn it upside down, and squeeze the air out through the bite valve before you seal it. A bladder with an air pocket sloshes all day. Load it upside down so the hose exits at the top of the sleeve, then run the hose down the front of the shoulder strap where you can reach it without letting go of a trekking pole.
Step nine: Make the pockets reachable while walking. Move snacks, phone, and sunscreen to belt pockets or the side pockets you can reach without unshouldering. This is where a pack either works or annoys you for six hours. If a pocket is only reachable with the pack on the ground, it is storage, not a pocket.
The mile-eight check. Do one loaded 10-mile hike before a big trip. Adjust the belt at mile two, then leave everything alone. If you feel pressure points at mile eight, the belt is too high or the load is too far from your spine. Note where it hurts and fix that one thing before the next hike. One change at a time, or you will never know what worked.
The competition and why it lost
If you are carrying an overnight load, none of this applies the way it does to a daypack. A framed pack with real suspension earns its weight at 30 pounds and up. An Osprey with the anti-gravity setup genuinely transfers load, and the warranty is legendary. A Gregory Baltoro or Deva has the best hip belt in the business. A Deuter Aircontact is the stiff-framed choice for heavy loads, and its ventilation actually works. A Hyperlite frameless pack is a wonderful thing under a 15-pound base weight and a punishment above it. The REI Traverse line is the value pick for weekend hikers.
They are simply not the tool for this guide. A 35L packable daypack or a hydration daypack is for the hike you drive to, not the trip you sleep on. Buying a framed overnight pack for day hikes is like buying a truck to commute: you pay for capacity you never use and you carry it up every hill.
What this all costs
Here is where day hiking gets cheap. The two packs in this walkthrough sit at the low end of the market, and both link above with a current price. A daypack is the least expensive place in hiking to spend money well, because a pack that fits will outlast three pairs of trail runners.
The math that matters is not the sticker. Divide what you pay by the number of days you carry it. A pack you use twice a month for a season pays for itself in comfort long before it wears out, and a pack that hurts is a pack you stop reaching for, which makes it the most expensive thing in your closet.
Do the torso measurement first. Set the belt before the shoulder straps. Load the heavy things in the middle. Then go walk 10 miles and see what your hips tell you. That is the whole job, and it works on any pack you buy.