Most people pack a daypack the way they pack a suitcase: everything that might be useful, stuffed wherever it fits. Then they walk ten miles with a bag hanging off their shoulders and a water bottle they cannot reach without stopping. Learning how to pack a daypack for a day hike is not about buying more gear. It is about deciding what earns a spot in the bag and where that thing sits once it is in there.
I have carried a backpack roughly 8,000 miles in the last five years. I thru-hiked the PCT in 2021, section-hiked the AT, and I work part time in outdoor retail, which means my Saturdays are spent measuring torsos and listening to people describe the pack that hurt them. The packs that work are rarely the expensive ones. They are the ones that fit, that put the load on your hips, and that have pockets you can reach while you are moving.
This guide covers the two packs I use for day hikes, the order I load them in, and the fit check I run at mile 8 before a small problem turns into a long walk out. None of it requires a $400 pack. The free version of this works, and the free version is what I am going to give you.
Why you should trust me
I have carried a backpack roughly 8,000 miles in the last five years, and I keep a grams-per-mile logbook because I have a problem. Every pack I recommend here has been on a loaded 10-mile hike, through a hip belt transfer check, and through a 30-day daily carry trial. That is the minimum bar, and I do not lower it for a pack I like the look of.
I also work retail part time, mostly for the discounts and the honest customer questions. The question I get most is not "which pack is best." It is "why does my pack hurt." The answer is almost never the pack. It is the torso length, the packing order, or a hip belt riding up onto the waist instead of sitting on the hip bones.
I do not review packs I have not carried with a real load on a real trail. That is the whole rule.
How I picked and how I tested
This is a how-to about packing, so the gear list is deliberately short. Two items: the pack that carries the load, and a collapsible spare that solves the one problem a daypack always creates, which is that you have nowhere to put the layer you shed at mile 3.
I tested the daypack the way I test everything. Loaded it, walked ten miles on a local ridge, checked where the weight sat at the halfway point, then carried it daily for a month to watch the seams and the zippers. The collapsible pack got the same treatment, plus a week living inside my overnight pack as a stuff sack to see whether the fabric held up to being compressed and dragged around.
The test for a daypack is simpler than the test for an overnight pack. Does the load stay against your back instead of pulling away? Can you reach water without taking the pack off? Does anything dig in at mile 8? If the answer to those three is yes, the pack is doing its job. Pocket count is not a feature. A pocket you cannot reach while walking is worse than no pocket at all, and I will die on that hill.
I also ignore the spec sheet. A pack that lists 25 features and no torso range is telling you it was designed for a photo shoot, not a trail.
The two packs I use
Both of these are light, both are cheap relative to what a full overnight setup costs, and both do a job the other one cannot.
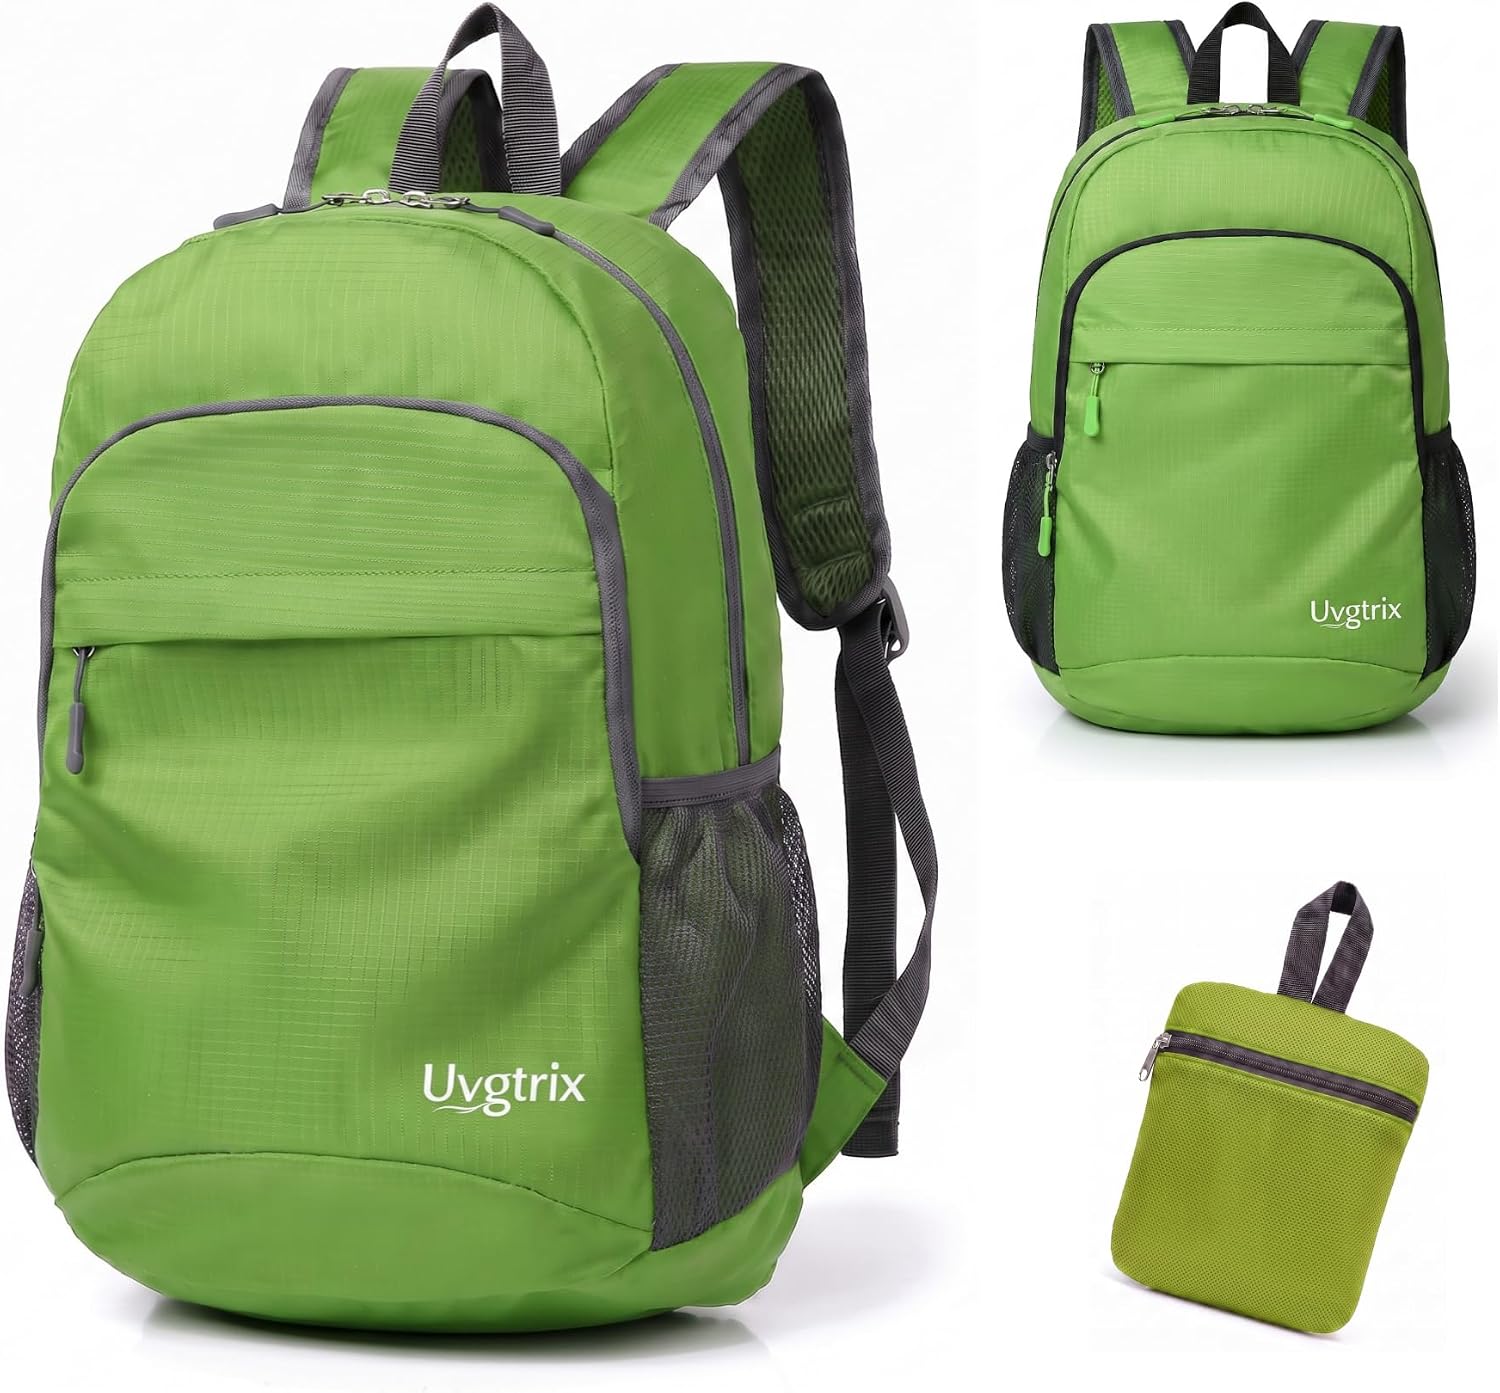
The daypack: Foldable Lightweight Hiking Backpack Water Resistant Daypack,Green
 Visit on Amazon →
This is the pack that lives folded in my car door pocket, which is the highest compliment I can pay a daypack. It is water resistant, it is lightweight, and it folds down small enough that there is no reason to leave it at home. That last part matters more than people think. The best daypack is the one that is actually in the trunk when a friend texts at 7 a.m. about a trailhead.
It is a frameless pack, so the honest answer is that it has a load ceiling. Keep the weight reasonable and the fabric against your back and it carries fine for a half day. Overload it and you will feel every ounce on your shoulders, because there is no frame and no real hip belt transfer to save you. That is not a flaw, it is the trade you make for a pack that disappears into a glovebox.
The water resistance is real but it is not a rain cover. If the forecast is serious, a liner bag inside costs nothing and weighs nothing.
Flaws but not dealbreakers: The suspension is your spine. Pack it light and pack it well and you will forget it is there.
Anyone doing day hikes, travel days, or a summit push off a basecamp will get their money's worth. Check current Amazon price before you commit.
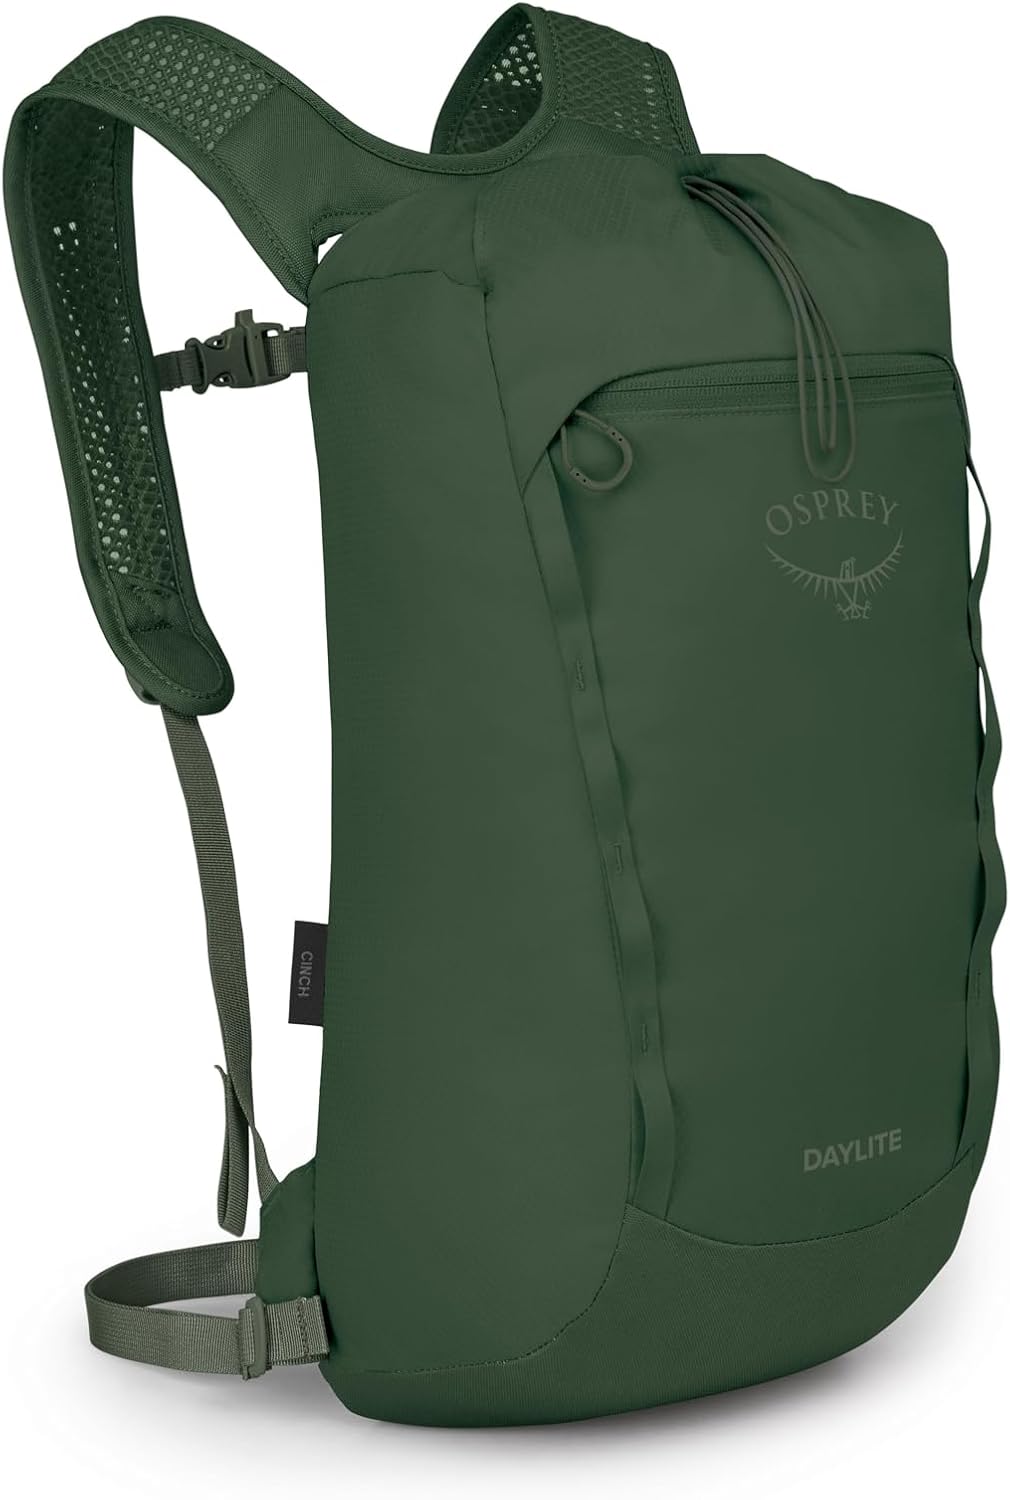
The packable spare: Osprey Ultralight Collapsible Stuff Pack, Black OS
 Visit on Amazon →
Osprey is the best all-round brand in this business. The anti-gravity suspension genuinely transfers load on their big packs, and the warranty is legendary. This is not one of those big packs. It is a collapsible stuff pack, one size, and its job is to be the bag you did not plan for.
Three uses, all of them earned. First, it is the overflow bag when the daypack is full and you still have to carry a wet shell or a friend's water. Second, it is the summit bag: leave the loaded daypack at camp, take this up the last mile, and your shoulders thank you. Third, it is a laundry and gear sack in a hotel sink on a travel day, which is a use nobody advertises and everybody discovers.
Flaws but not dealbreakers: There is no structure here at all, and the fabric is thin by design. Do not put a stove or a trekking pole tip in it loose. It is a bag for soft things.
Anyone who hikes with other people, travels with a single carry-on, or wants a spare bag that takes up no room should have one. Check current Amazon price.
The packing order that actually works
Now the part you came for. This works with any daypack, framed or frameless. The steps are in the order I do them, because the order is the method.
Step one: Fit the pack before you pack it. Loosen every strap. Put the pack on with the hip belt centered on your iliac crest, not your waist. Torso length is the spec everyone ignores and the one that matters most. If the hip belt rides up onto your soft middle, the pack is too short for you or the belt is too loose, and no packing trick will fix it. Tighten the hip belt first, then the shoulder straps, then the load lifters until they angle down toward your collarbone.
Step two: Set the weight budget before you choose the gear. For a day hike, most people should be carrying well under 15 percent of their body weight, and honestly a lot less than that. Pick the number first. Then every item has to argue its way in. This is the step that eliminates 80 percent of the junk in the average daypack.
Step three: Heavy in the middle, against your back. The densest items, water, food, a stove if you brought one, go at mid-back height, snug against your spine. That keeps the weight over your hips instead of pulling you backward. Light and bulky items, a puffy, a spare layer, go around them and below. Nothing heavy at the very bottom and nothing heavy high up near your head.
Step four: Water where you can reach it without stopping. Side pockets, a hose, a chest pouch, whatever your pack allows. If you have to take the pack off to drink, you will drink less, and drinking less is how a good hike turns into a headache at mile 9. Fill the bottle or bladder before you leave the car, not at the first stream crossing.
Step five: Layers, one dry and one worn. You get one spare insulation layer and one rain shell. That is it. The shell lives in the top of the pack or a lid pocket so you can grab it without unpacking. The spare layer stays dry inside a liner or a stuff sack, and it does not come out until you stop moving. Wearing your only dry layer while you hike means you have nothing dry when you stop.
Step six: Food in the pocket you open most. Snacks go in the hip belt pocket or the top lid. Lunch goes in the middle. Nobody ever eats the sandwich that got buried under a rain shell at the bottom of the pack, and nobody enjoys the energy bar that melted into the map. Eat before you are hungry, because by the time you feel it you are already behind.
Step seven: Give the essentials fixed homes. Navigation, headlamp, first aid, repair patch, sun protection, fire starter, emergency shelter, extra food, extra water, extra insulation. Those are the ten essentials, and the point is not the list, it is that each one has one home and it goes back there every single time. Fixed homes mean you never repack from scratch and you never leave the headlamp on the kitchen counter.
Step eight: Run the mile 8 check. At some point mid hike, stop and audit the pack while it is on your body. Is the hip belt still on your hip bones or has it crept up? Are your shoulders carrying weight they should not be? Tighten the hip belt, reset the load lifters, snug the sternum strap so it is not restricting your breathing. Small adjustments at mile 8 save your knees at mile 12.
Step nine: Use the spare as your reset button. When the daypack fills up, stop reorganizing and move the soft overflow into the collapsible pack. When you shed a layer and the daypack has no room, that layer goes in the spare. The spare is not extra weight, it is the pressure valve that keeps the main pack packed correctly.
What not to carry on a day hike
The biggest packing mistake I see is not what people put in the bag. It is the bag itself.
An overnight pack is the wrong tool for eight miles. Osprey's anti-gravity line, Gregory's Baltoro and Deva with the best hip belts in the business, Deuter's Aircontact with its stiff frame, those are excellent packs and they are built to carry 30 pounds for a week. Carrying one on a day hike means hauling three or four extra pounds of frame and fabric you will never use. Hyperlite's frameless packs are brilliant under a 15 pound base weight and miserable above it, and that is a different guide entirely. The REI Traverse line is the best value in the business for weekend hikers, and it is still an overnight pack.
For a day hike, carry the lightest pack that fits your torso and holds your load. That is the whole buying decision. Save the framed pack for the trip where you actually need the frame.
What this all costs
Both items in this guide are on the inexpensive end of hiking gear, and both are the kind of purchase you make once and then forget about. Check current Amazon price on each and do the math against how often you actually get outside. A pack that sits in the closet is expensive at any price. A pack that lives in your car and gets used every weekend is cheap, no matter what it cost.
The real cost here is not money. It is the twenty minutes you spend fitting the pack, weighing your gear, and giving every item a fixed home before you walk out the door. That twenty minutes is the difference between a pack that rides on your hips for ten miles and a pack that hurts by mile 3.
Pack it light, pack it once, and let the trail be the hard part.